After some weird malfunctions started occurring on my window OS laptop, I decided to install the Virtual Studio Code application on another laptop in a Linux OS Terminal. Using Linux to download applications via the terminal is a highly valuable practice for system administrators.
The terminal allows for precise control over software installations, enabling admins to script and automate deployments, ensuring consistency across multiple systems. It also provides access to repositories and package managers that simplify the installation process, often resulting in quicker and more efficient setups.
Furthermore, terminal-based installations give admins the ability to manage dependencies, troubleshoot issues in real-time, and maintain a clean, minimal installation environment.
This approach is particularly advantageous in environments where GUI tools might not be available or practical, reinforcing the importance of command-line proficiency in system administration.
Here’s how to complete the Virtual Studio Code install in a Linux OS terminal in little to no time:
Step 1: Download the application on the Debian/Ubuntu Version of the application at code.visualstudio.com
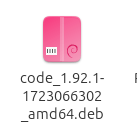
Step 2: Verify The file has been downloaded in the File Section

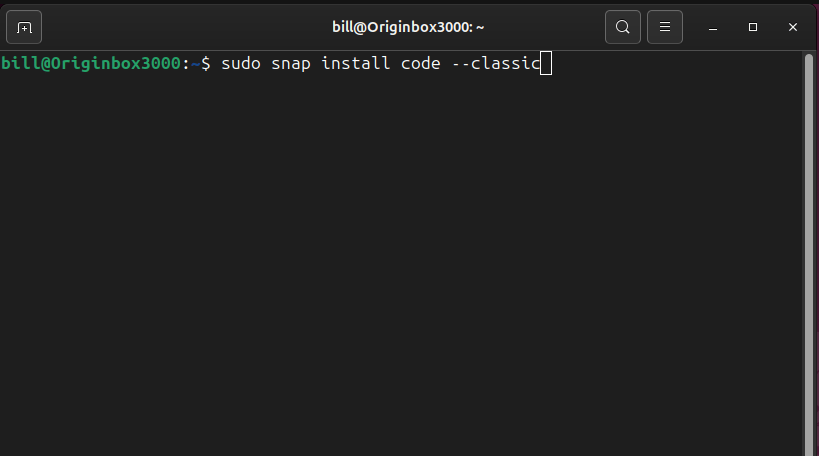
Step 3: Open the linux terminal (ctrl+ alt + T) and then type in the command
“sudo snap install code –classic” and then press “ENTER“
Step 4: Great Job! You should now have Virtual Studio Code Installed on your Linux OS. Happy Coding!


Leave a comment