
Building an embedded system for specialized applications like air coolant pods requires a tailored approach that combines hardware assembly and strategic component integration.
This guide will walk you through the step-by-step process of constructing a custom embedded system using Rock Pi control boards, an EMMC module for data storage, and an efficient power supply unit (PSU).
By following this method, you will learn how to prepare, assemble, and securely mount your components to create a robust system that supports effective cooling management.
1. First you need to ensure you have the correct material
– 3 rock pi’s (Control Boards)
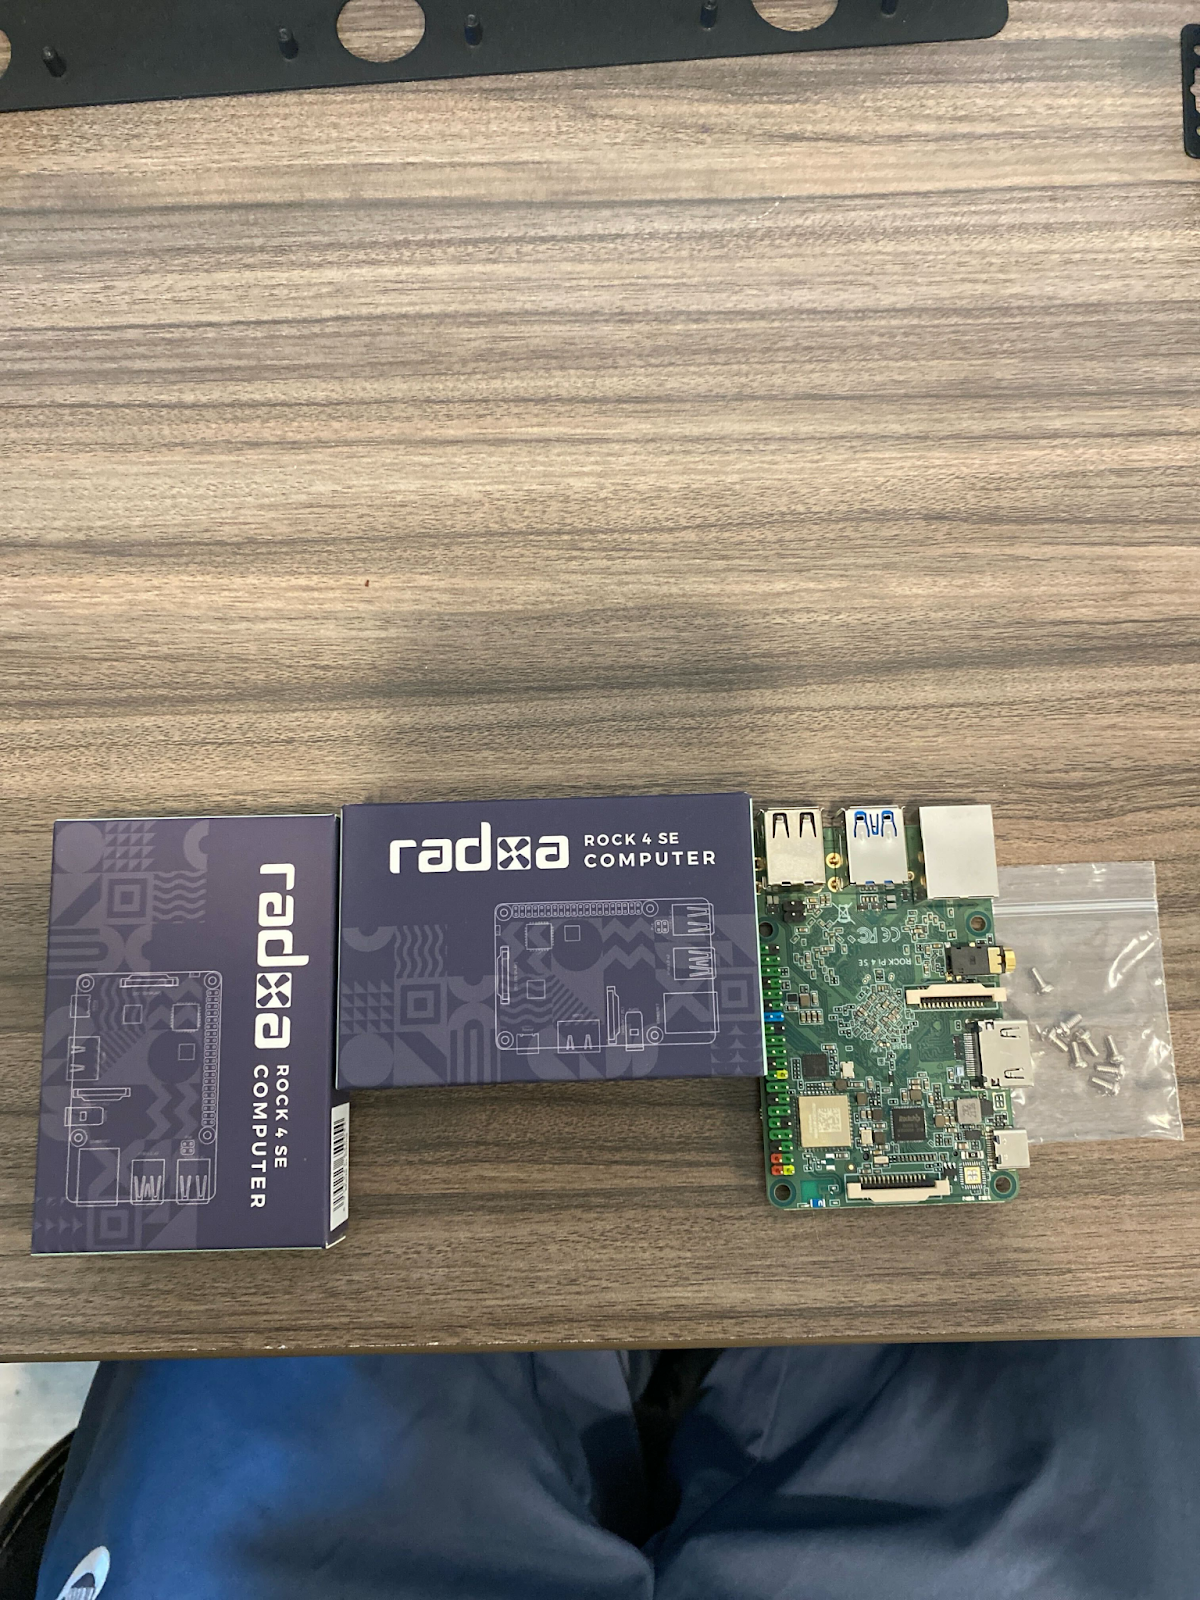
– 1 EMMC (embedded MultiMediaCard) module
– Generic Rack (comes with screws)


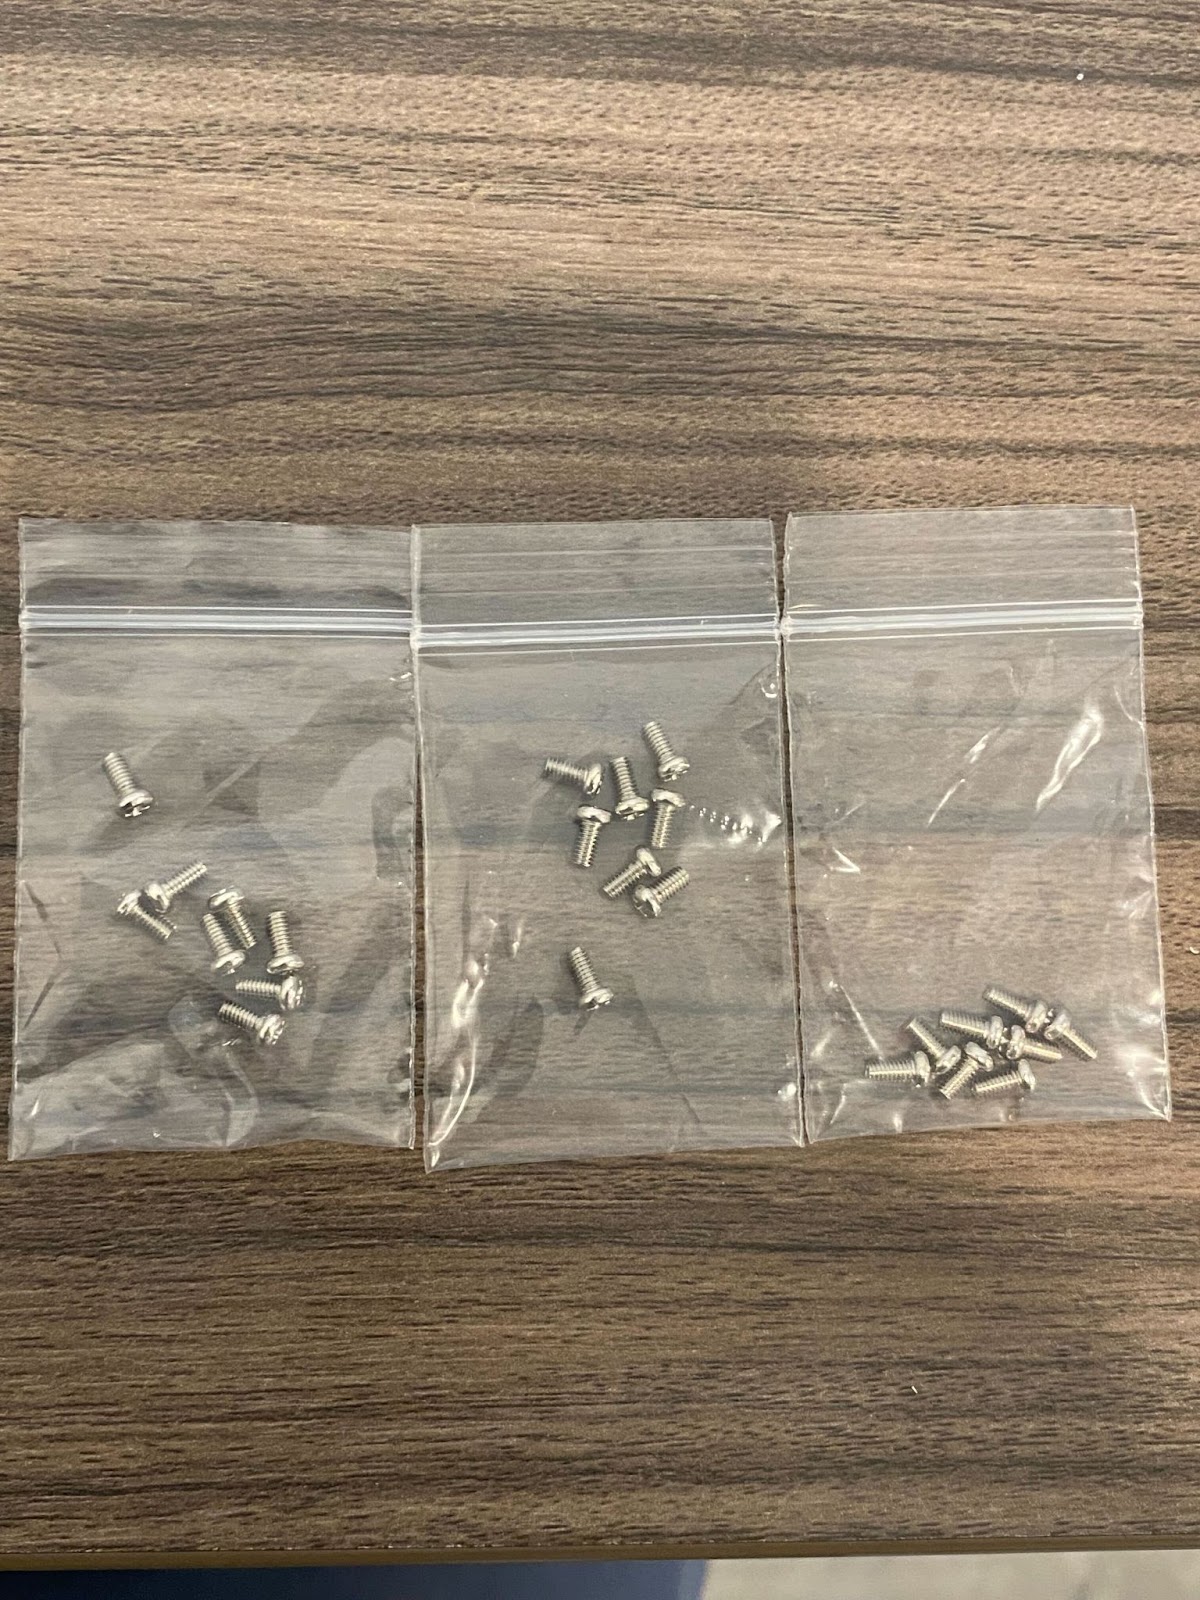
– Miniature Phillips Head ScrewDriver
– 400MM Zip Ties

– At least 2 Nuts and 2 Bolts from Server Rack OR compatible Nut and bolt that will fit on server Rack (Floating Square Black Cabinet Near PLC/PDU in container)


– Power Adapter (PSU)

Continue to the next page for further instruction.
2. Cut off a set of prongs on one end of the Generic Rack,. That is where you will be putting the PSU. To avoid damaging hardware, do this before you attach any devices to the rack.


3. Grab Rock Pi and assemble on the opposite end of the rack with screws from the generic rack.
4. After Assembling all 3 Rock Pi’s, proceed to assemble the EMMC onto the Integrated circuit of the Rock Pi. This is located in the upper left hand corner of the control board. Simply snap the EMMC into place on the rock pi control board.


Continue to the next page for further instruction.
5A. After assembling the EMMC onto the Rock Pi, grab your PSU and your zip tie


5B. The standard and most convenient way to mount a PSU is to
Place the adapter on its side so that the USB ports are facing the rock pi control boards. You need at least 2 ties to reinforce the PSU onto the Generic Rack.

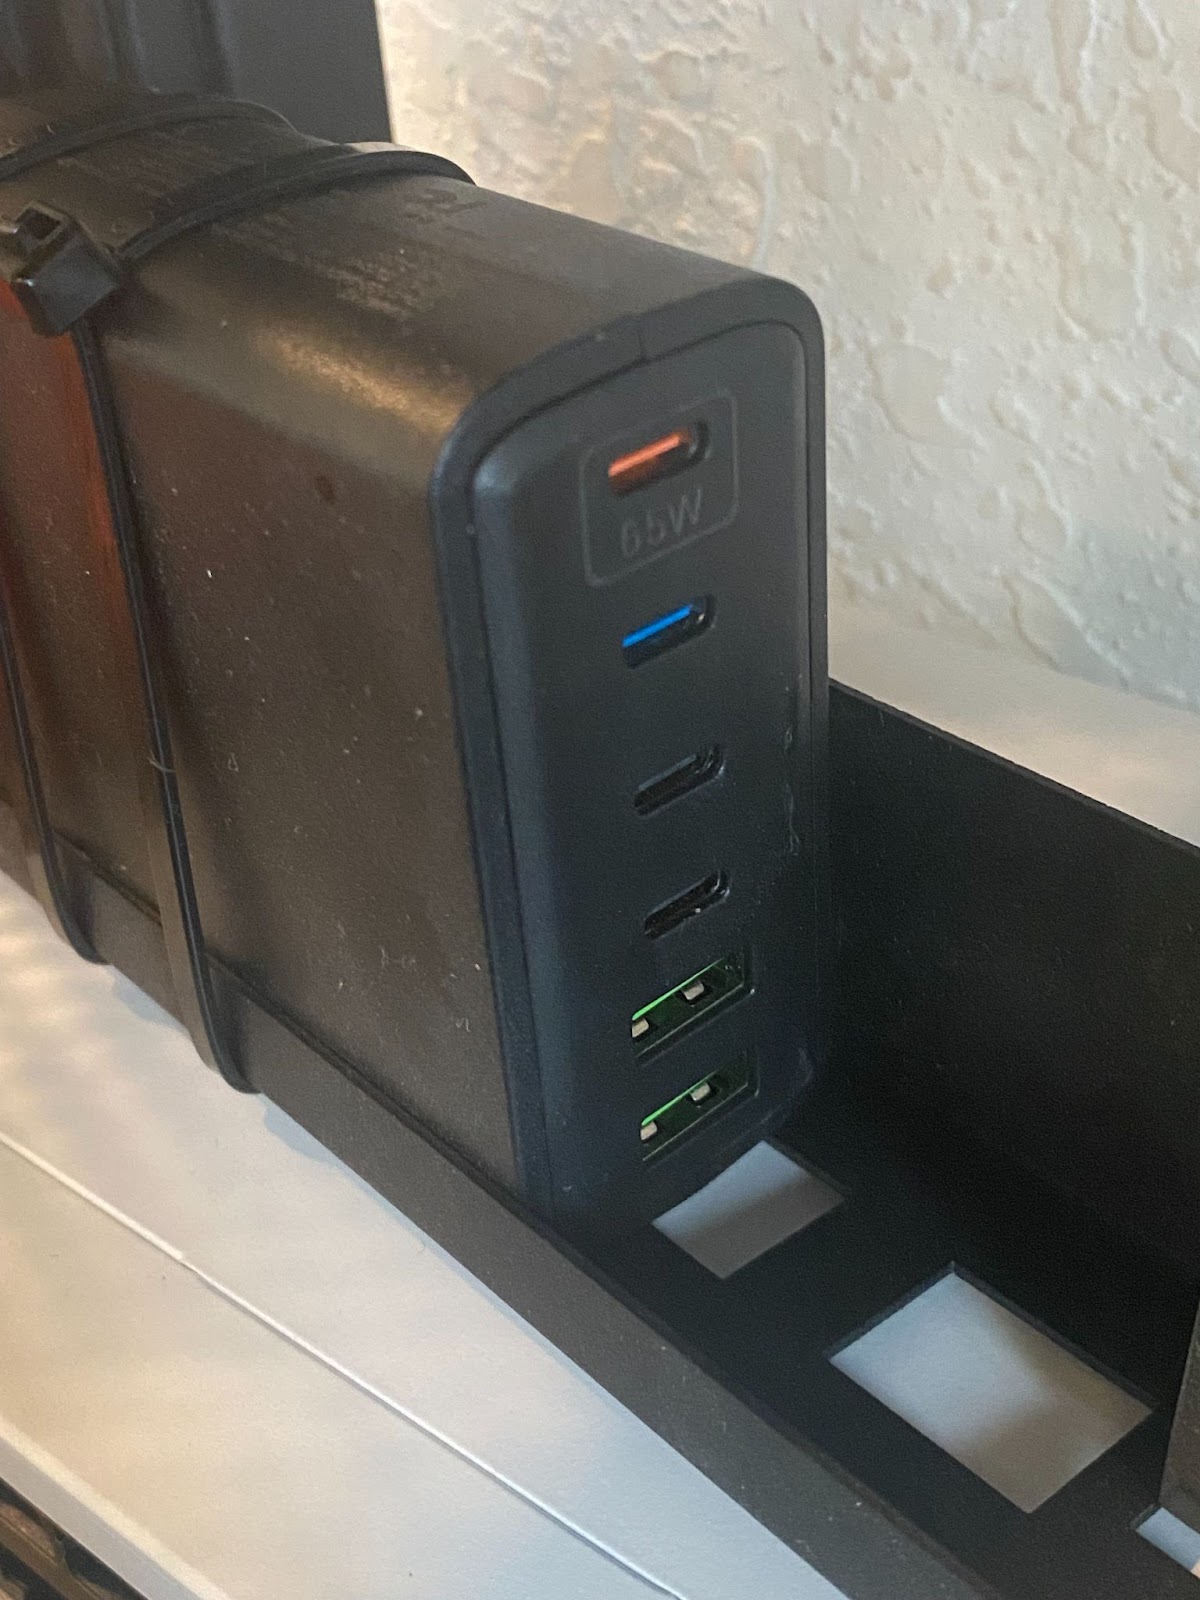
5C. Alternative PSU Mounting Method: To ensure PSU is stable on rack tie 3 zip ties vertically and 3 zip ties horizontally around the PSU. Make sure zip ties are not covering the socket for PSU. PSU should have its USB type C ports visible to plug in other cables/devices.
6. Once Finished this is how your Boron Bot should look. Great Job!


Leave a comment