
Reference record for OID: Website to interpret OID Adresses
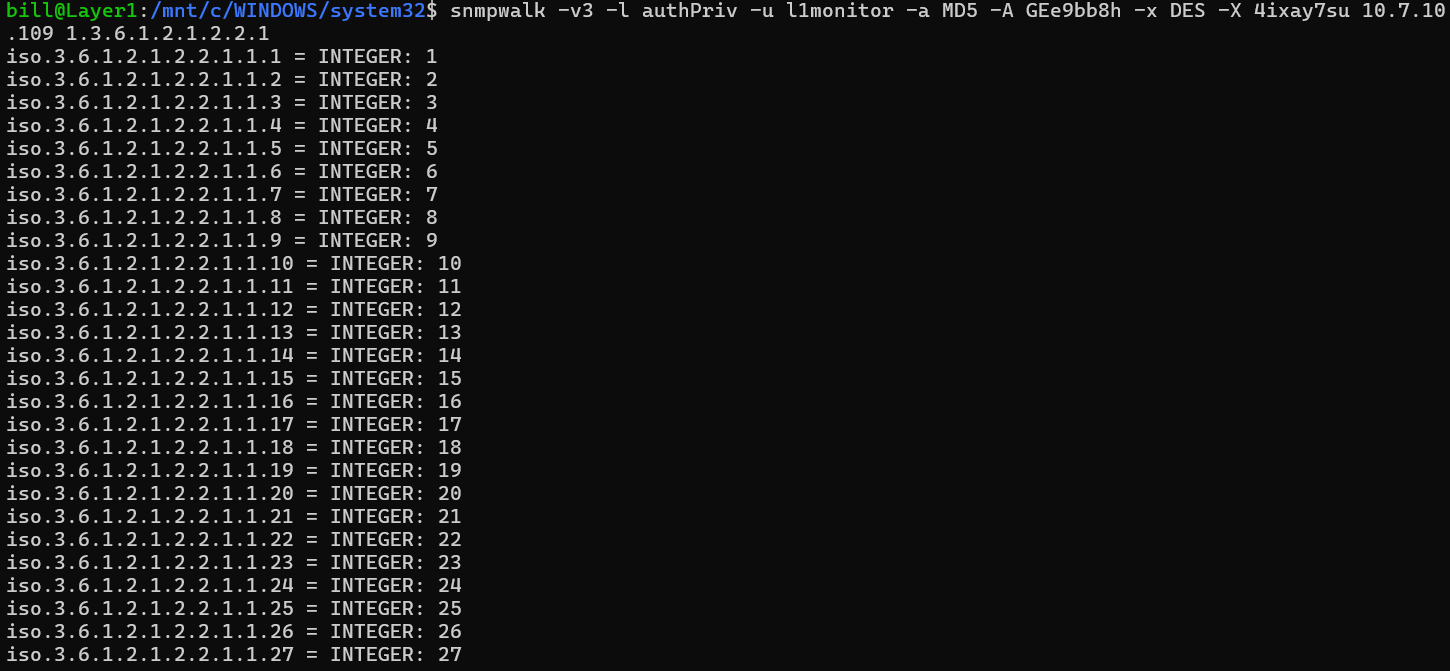
snmpwalk -v3 -l authPriv -u l1monitor -a MD5 -A GEe9bb8h -x DES -X 4ixay7su 10.36.10.108 1.3.6.1.2.1.2.2.1
snmpwalk: This is the command used to retrieve a subset of management values using SNMP.
a. -v3: Specifies that SNMP version 3 is used, which includes enhanced security features.
b. -l authPriv: Sets the security level to authPriv, indicating that both authentication and privacy (encryption) are required.
c. -u l1monitor: Defines the username l1monitor for authentication with the SNMP agent.
d. -a MD5: Selects MD5 as the authentication protocol.
e. -A GEe9bb8h: Provides the authentication passphrase GEe9bb8h.
f. -x DES: Chooses DES as the privacy (encryption) protocol.
g. -X 4ixay7su: Supplies the privacy passphrase 4ixay7su.
i. 1.3.6.1.2.1.2.2.1: This is the Object Identifier (OID) that specifies the particular subtree of information you want to retrieve. It typically corresponds to a specific set of information in the MIB (Management Information Base), such as interface details.
InstallingSNMP: To installSNMP, you can use the following command:
sudo apt install snmp
- This command will install the necessary SNMPpackages, including snmpwalk.
- During the installation, you’ll notice that some additional packages are being installed, such as libsensors-config, libsensors5, libsnmp-base, libsnmp40, and libwrap0. These packages are dependencies required for SNMP to function properly.

- Confirmation Prompt: After installing the packages, you’ll be prompted with:

Do you want to continue? [Y/n]
- Press Y to proceed.
Afterward the command line will give you the OID (object identifier) Addresses that look like >>>>>(1.3.6.1.2.1.2.2.1)

5. Checking each individual switch
To check each individual switch, change the IP address’s 2nd and 4th octet to get to reach the corresponding switch. 10.31.10.101 This is the IP address of the target device, which in this case, identifies the switch you’re querying. In this example, 31 is the container. 101 is the switch position.
snmpwalk -v3 -l authPriv -u l1monitor -a MD5 -A GEe9bb8h -x DES -X 4ixay7su 10.31.10.101 1.3.6.1.2.1.2.2.1
BitcoinVersus.Tech Editor’s Note:
We volunteer daily to ensure the credibility of the information on this platform is Verifiably True. If you would like to support to help further secure the integrity of our research initiatives, please donate here
BitcoinVersus.tech is not a financial advisor. This media platform reports on financial subjects purely for informational purposes.

Leave a comment