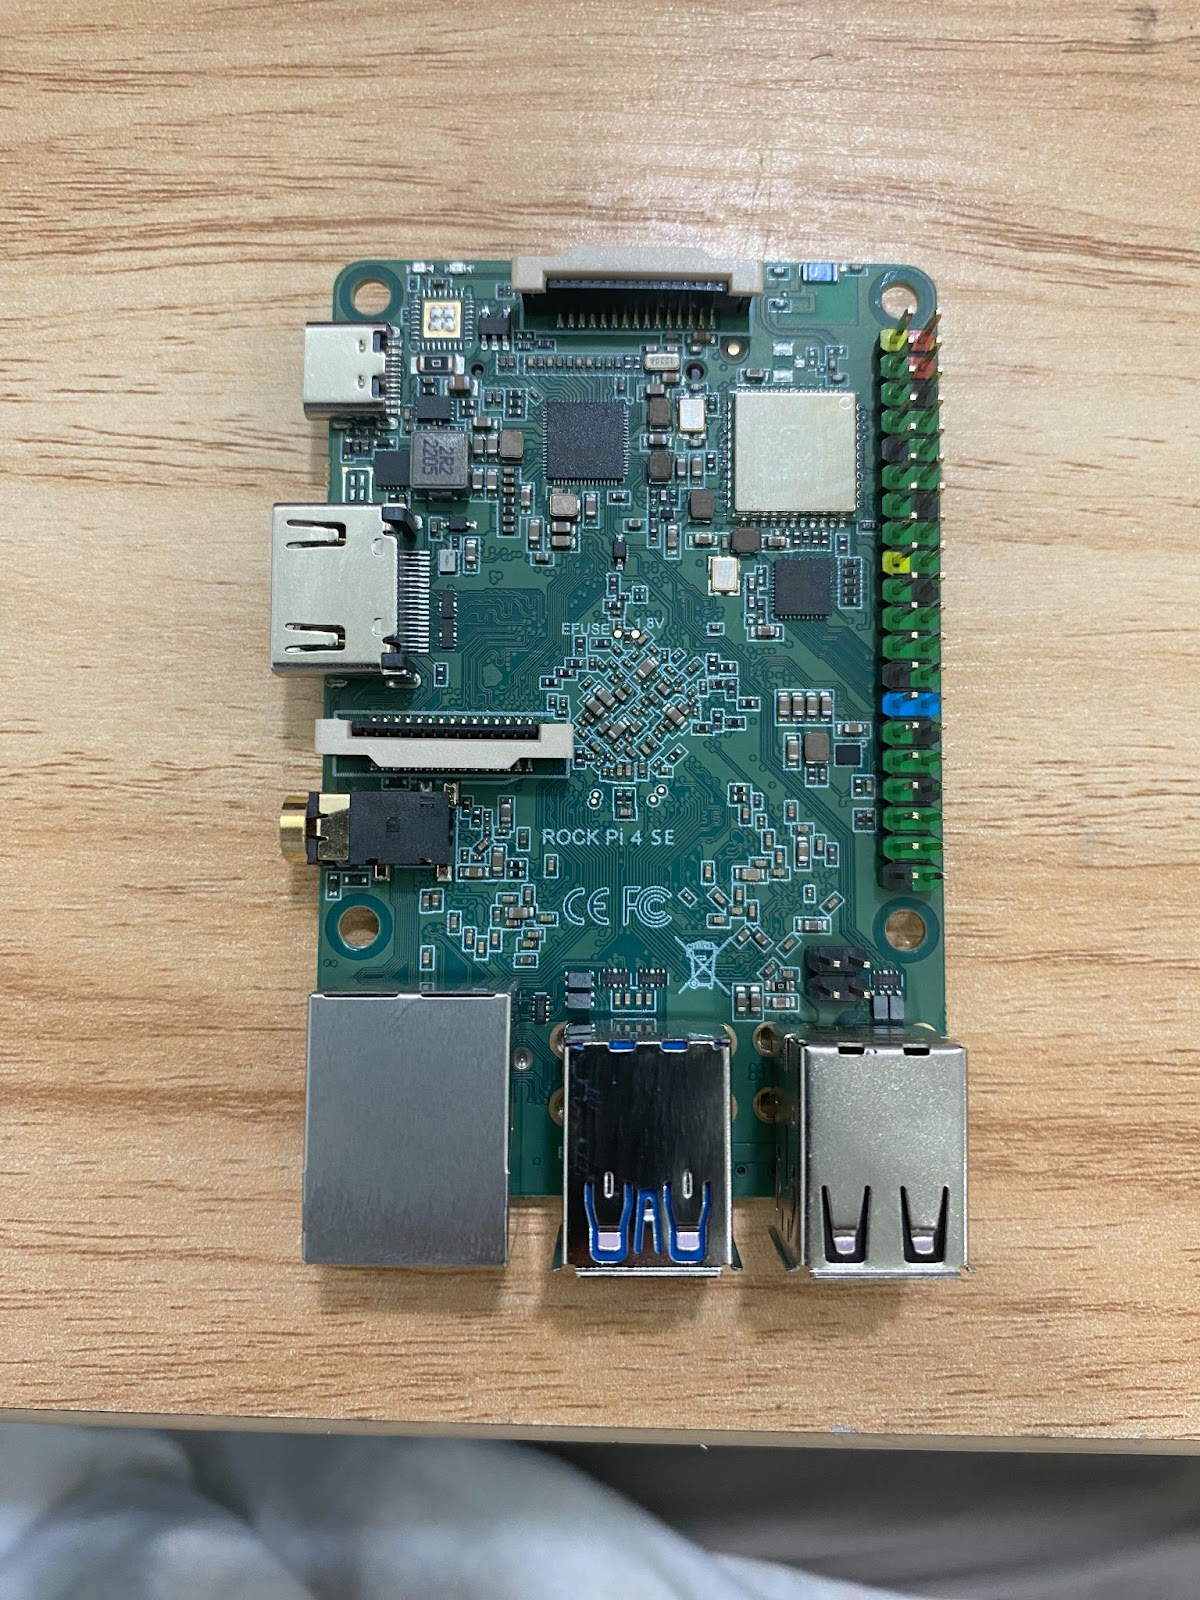
The Rockpi 4 SE is essentially a computer that you can program. The Rockpi has capabilities for various management, monitoring, and automation tasks to further optimize operations at a bitcoin mining facility.

Software Overview
Retrofitting “Brains”’ on a Rock Pi involves first opening a Fedora terminal to develop u-boot for the Rock Pi.
Once the u-boot is prepared, a Talos image is created and transferred onto a microSD card.
To clarify the process:
- Use a Linux terminal to configure and compile u-boot for the Rock Pi.
- Once u-boot is set up, prepare a Talos OS image for the Rock Pi.
- Transfer the prepared Talos OS image onto a microSD card using the “Git” command.
This sequence ensures that the Rock Pi is equipped with both a suitable bootloader (u-boot) and the Talos OS necessary for its intended data center operations.
Keep in mind that each step involves specific technical tasks.
Hardware Overview
Items needed for hardware set up:
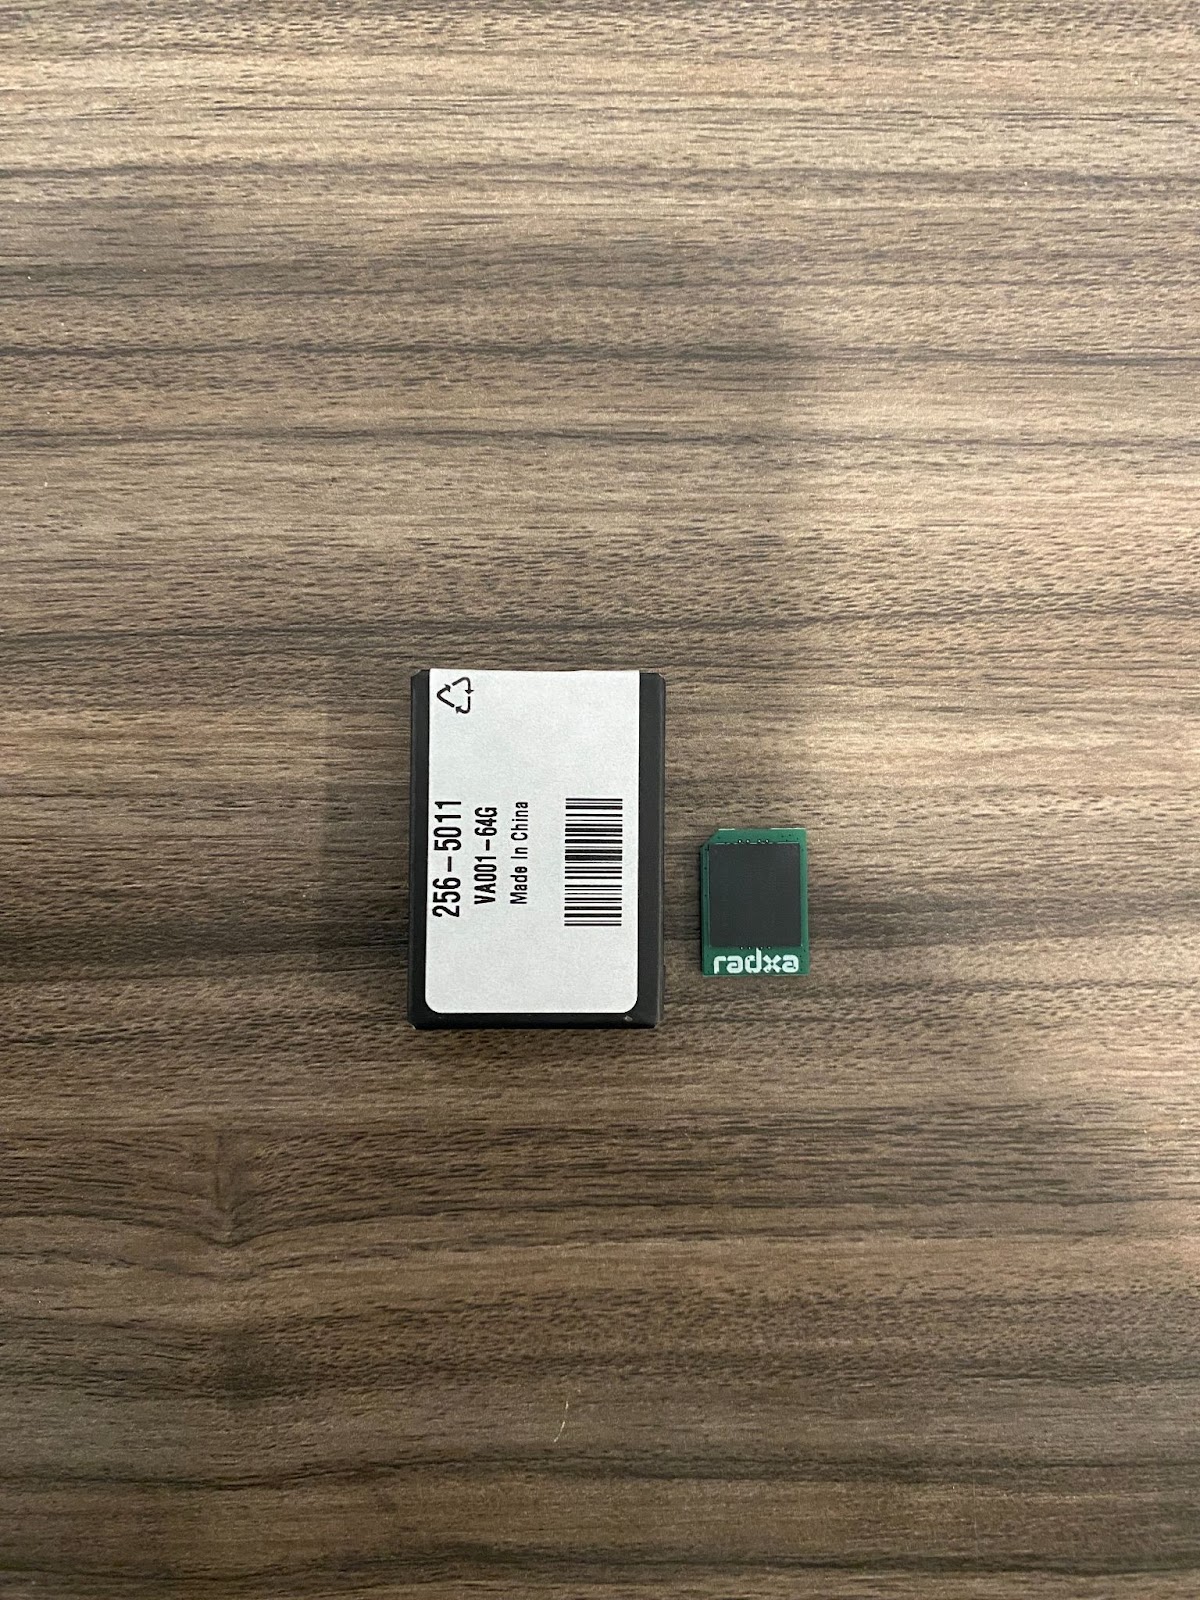
– EMMC (embedded MultiMediaCard)
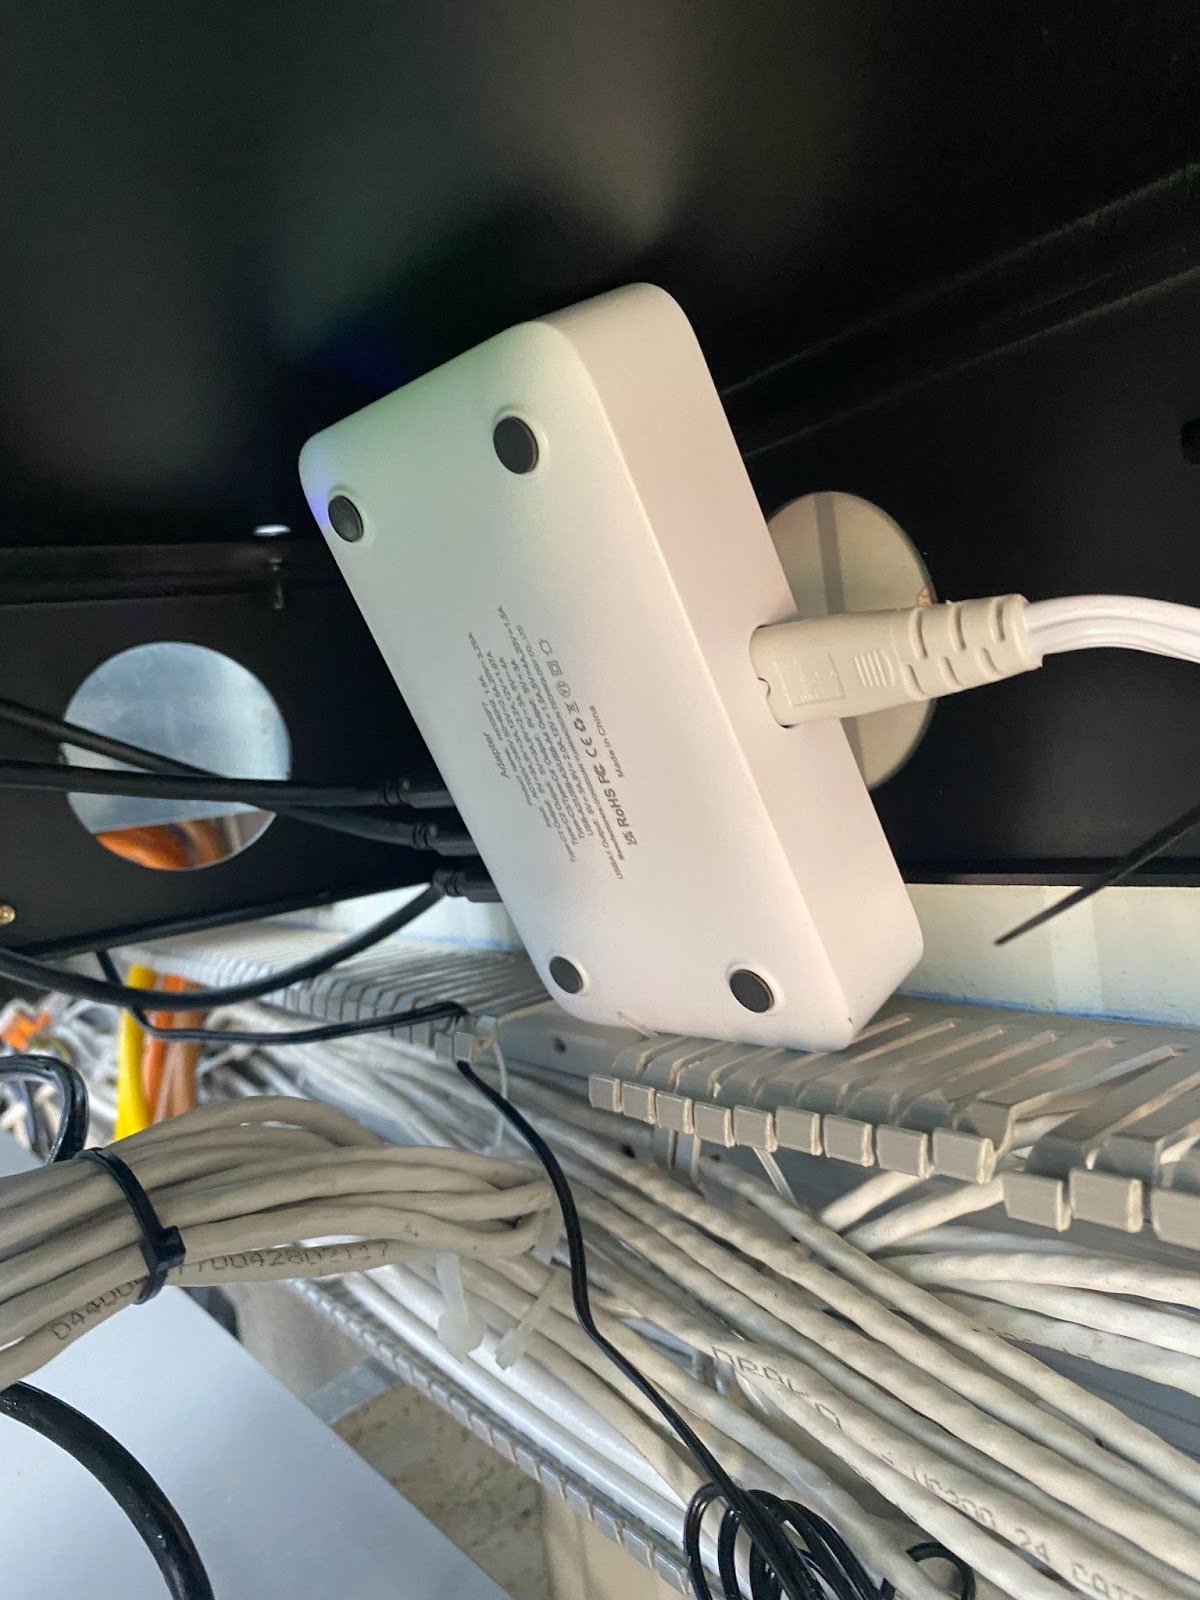
1 PSU

Drill or Screwdriver with phillips head tip

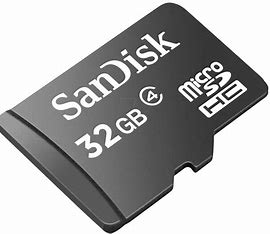
Micro SD Card
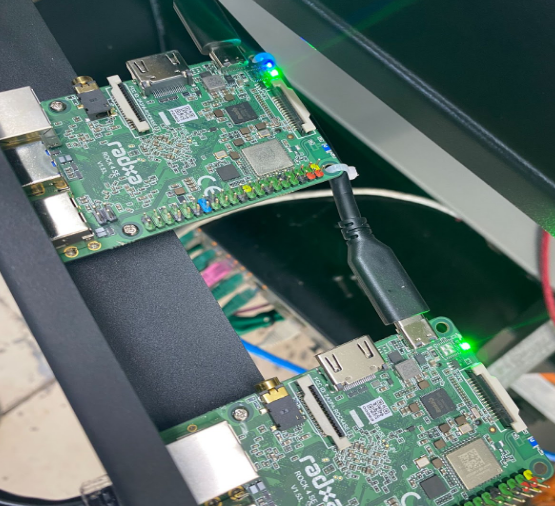
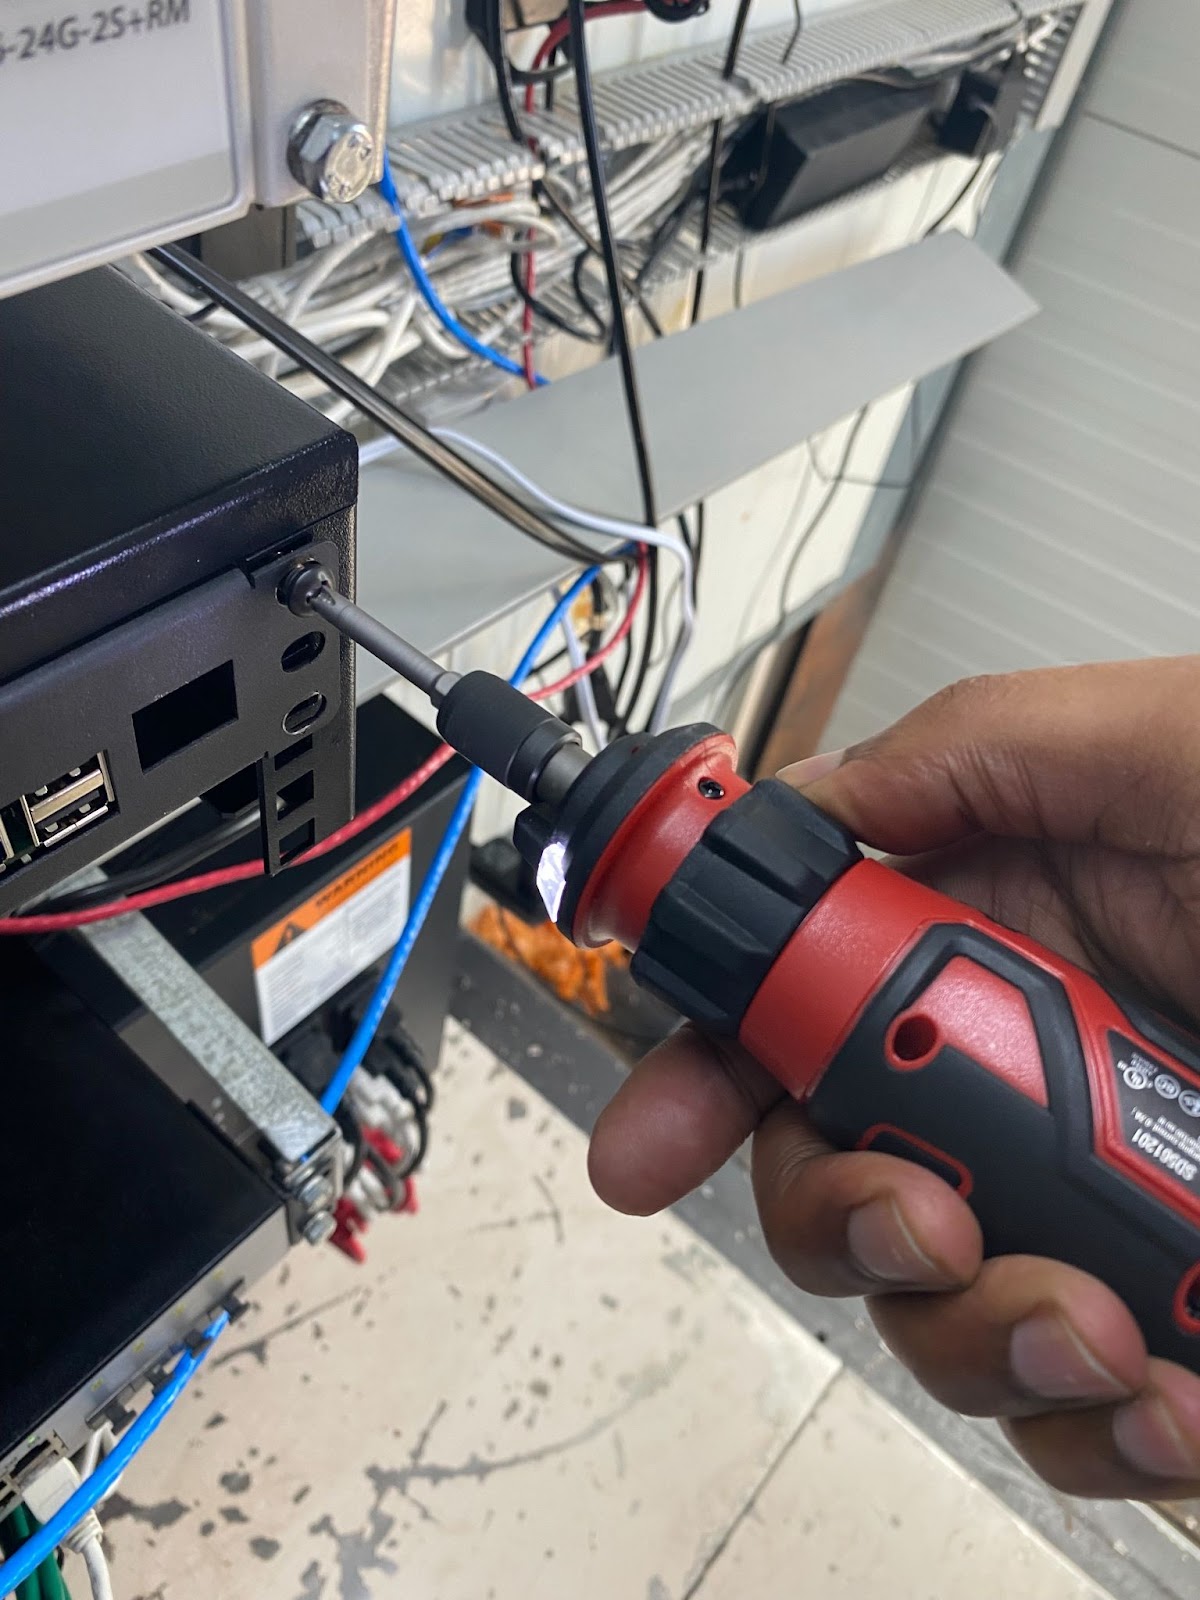
- Enter the immersion cooling container and unscrew the right side of the server rack. Afterward, the rack should swing open like a door.
- There are 3 Rockpi’s per container. Place the sd card in the slot on the backside of the Rockpi 4-SE.

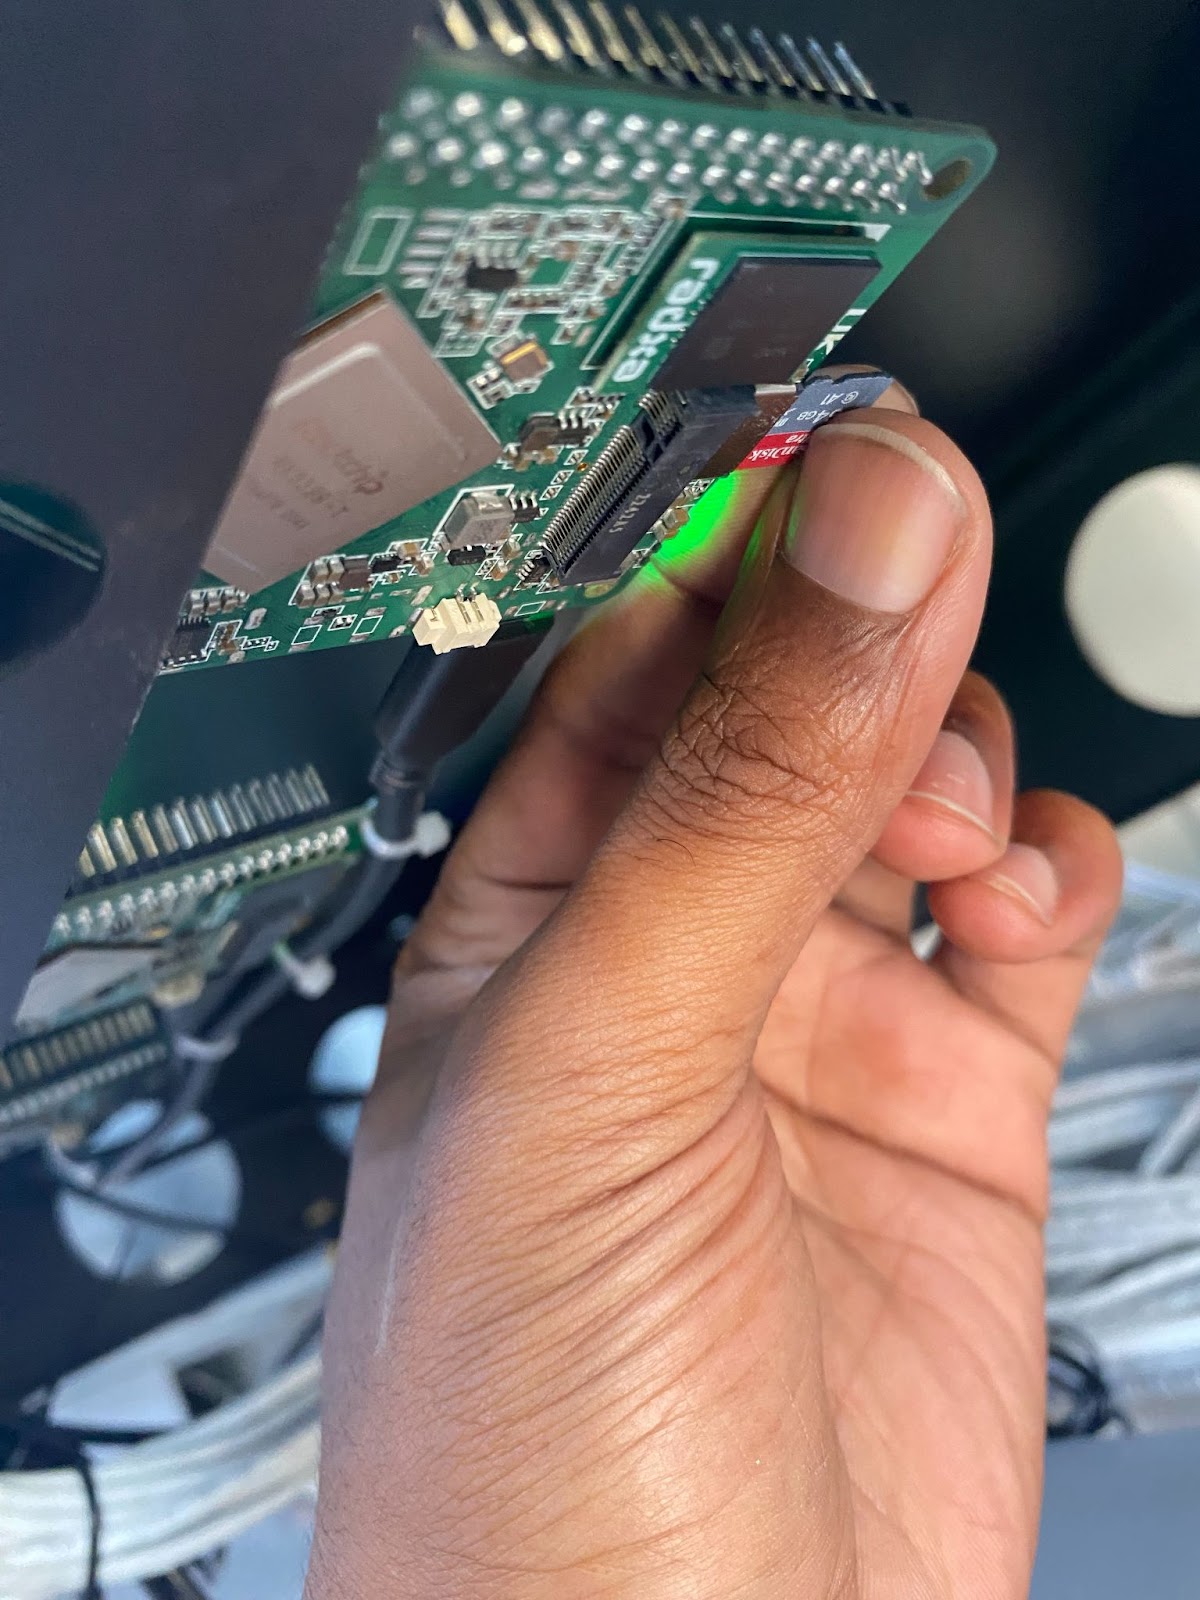

- An indicator of a successful flash will be blinking blue LED lights.

- Remove the SD card

- Close the server rack and drill the screws back in.
- If the flash does not work, try power cycling the Rockpi’s by unplugging and plugging back in the PSU.

Great Job! You’ve just Retrofitted brains in our immersion cooling container!
BitcoinVersus.Tech Editor’s Note:
We volunteer daily to ensure the credibility of the information on this platform is Verifiably True. If you would like to support to help further secure the integrity of our research initiatives, please donate here
BitcoinVersus.tech is not a financial advisor. This media platform reports on financial subjects purely for informational purposes.

Leave a comment