Secure Shell, commonly known as SSH, is a cryptographic network protocol used to establish secure and encrypted communication between two systems over an unsecured network.
It allows users to remotely access and control another computer, typically through a command-line interface.
SSH ensures that all data, including login credentials and command outputs, are encrypted to prevent interception by unauthorized parties.
It is widely used for secure system administration, file transfers, and remote execution of commands in both personal and enterprise environments
In this setup, the Ubuntu laptop functions as the SSH server, while the Windows computer acts as the SSH client.
The server is the machine that runs the OpenSSH service and listens for incoming connection requests, allowing remote users to securely log in and manage the system.
The client, in this case the Windows machine, initiates the connection using the SSH protocol and authenticates with the server’s IP address and user credentials.
This client-server structure is fundamental to secure shell communication, enabling remote access and control between devices on the same network.
Understanding this relationship is key to configuring and using SSH effectively for system administration or remote development.
To remotely access an Ubuntu system from a Windows laptop using SSH, several configuration steps must be completed on the Ubuntu side first.
Begin by installing the OpenSSH server package on the Ubuntu laptop using the command sudo apt install openssh-server:
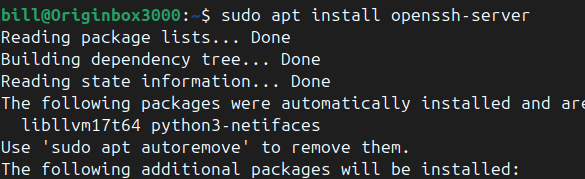
This package allows the system to accept incoming SSH connections.
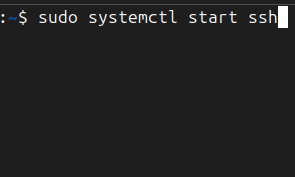
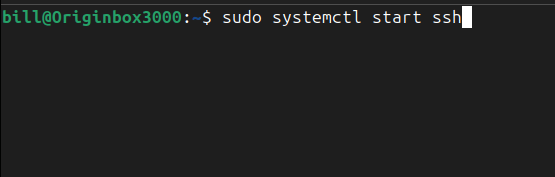
Once installed, the SSH service must be enabled to start automatically on system boot using “sudo systemctl enable ssh,”

followed by sudo systemctl start ssh to launch the service immediately.
To verify that SSH is actively running, use the command systemctl status ssh, which should return an “active (running)” status:

After ensuring the SSH service is operational, determine the IP address of the Ubuntu machine by running the command ip a.

Look for the address listed under the active network interface, typically something like wlp2s0 for Wi-Fi.
In this case, the valid IP was 192.168.12.xx. This is the address used for connecting remotely.
From the Windows laptop, open PowerShell and run the command ssh username@192.168.12.xx, where username is the Ubuntu username.
The first time you connect, you’ll be prompted to accept the device’s SSH key fingerprint and enter the Ubuntu user’s password.
Once authenticated, the terminal grants access to the Ubuntu shell, confirming that the SSH connection is successful.

This setup allows full remote control over the Ubuntu system from the Windows machine, useful for managing tasks, executing scripts, or even building a lightweight local server simulation.
Congratulations, you now know how to communicate with servers in a secure manner via the secure shell protocol.

Leave a comment