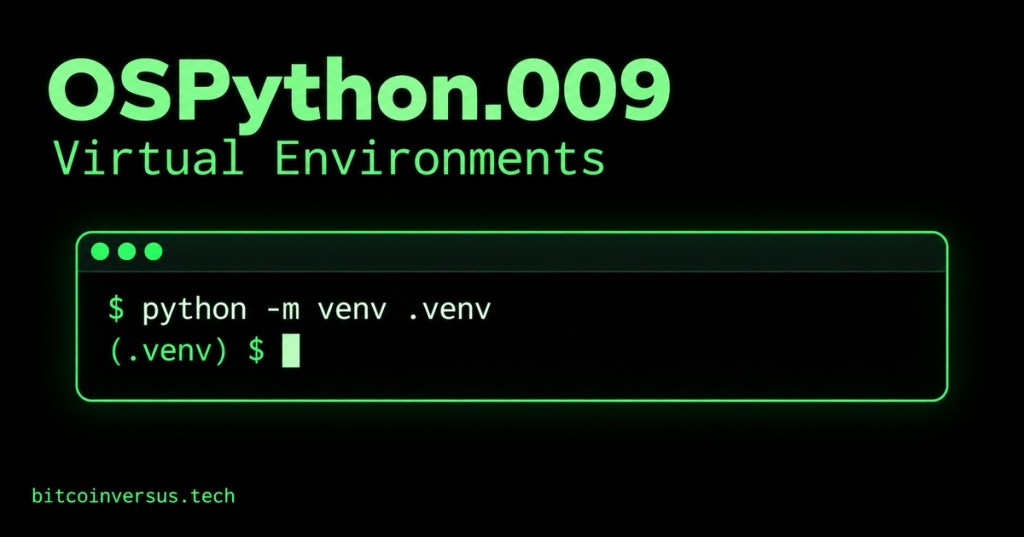
Simple explanation: A virtual environment gives one Python project its own place for installed packages. It helps keep the tools for one project separate from the tools used by another.
Definition: A virtual environment is a project-specific Python environment. It uses a Python interpreter and keeps that project’s installed packages in a separate location.
In OSPython.008: Modules and Imports, we used tools supplied by Python and shared a small module between scripts. A third-party package adds more tools. A virtual environment helps a project keep track of which packages it uses.
Why separate environments?
Imagine one script uses version 1 of a library while another project needs version 2. Installing everything in one shared place can cause the projects to interfere with one another. Separate environments let each project keep its own package set.
A virtual environment does not install a completely independent operating system or magically make code secure. It uses a base Python installation and isolates project packages and scripts from other environments.
Create an environment
Open a terminal in your project folder. On macOS, Linux, or WSL, run python3 -m venv .venv. On Windows, run py -m venv .venv; python -m venv .venv also works when the Python launcher is available under that name. The dot in .venv is a common folder naming convention.
After creation, the folder holds the environment’s interpreter and support files. The exact folder layout differs between operating systems.
Watch the setup
Corey Schafer’s walkthrough shows how to create and use Python virtual environments on Windows. The steps below also give the corresponding activation command for macOS, Linux, and WSL.
Video: “Python Tutorial: VENV (Windows)” — Corey Schafer.
Activate it and use its Python
In PowerShell, activate with .venv\Scripts\Activate.ps1. In Windows Command Prompt, use .venv\Scripts\activate.bat. On macOS, Linux, or WSL, use source .venv/bin/activate. The prompt usually displays (.venv) when the environment is active.
Now check which Python will run with python --version. Use python -m pip --version to check pip through that same interpreter. Writing python -m pip helps ensure packages are installed with the Python you intend to use.
To install a package in the active environment, run python -m pip install requests. Then python -m pip show requests displays information about that installed package. This practice example adds a package only inside the project environment.
Share the project’s package list
You can record installed package versions in requirements.txt with python -m pip freeze > requirements.txt. A teammate or a second environment can install that list with python -m pip install -r requirements.txt. The file records dependencies; it does not contain the packages themselves.
Keep the environment folder, commonly .venv/, out of version control because it is local to your machine and can be recreated. A typical .gitignore entry is .venv/; commit your project files and its dependency list instead.
Turn it off and practice
When finished, type deactivate in the terminal. This leaves the environment; it does not erase the .venv folder.
Practice: create a folder for a fictional equipment-report script, create its .venv, activate it, check the Python and pip locations, then deactivate it. In one sentence, explain how the project environment differs from your base Python.
Check your answer: The environment has a project-specific interpreter context and package location. Its installed packages are kept separate from other project environments. The base Python installation still exists underneath.
Key takeaway
Create one environment per project with python -m venv .venv (or the platform’s Python command). Activate it before installing packages, use python -m pip, record needed packages, and deactivate it when you are done. See the official Python virtual environments and packages guide for additional platform details.


Leave a Reply