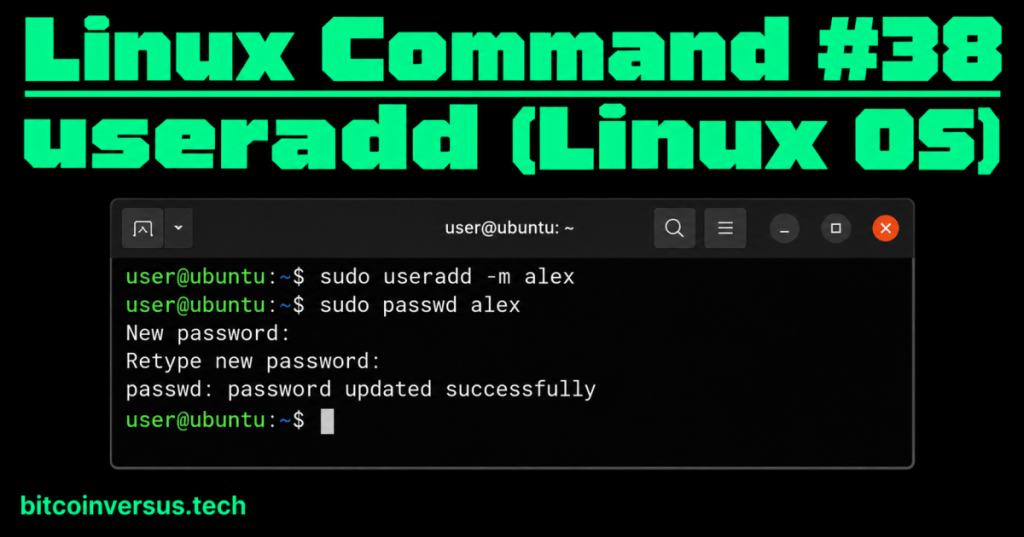
useradd creates a new Linux user account.
Think of it like adding a new person to a computer’s list of recognized users. The new account can then have its own username, home directory, password, files, and permissions.
The simple command
sudo useradd -m alexThis example has three easy parts:
sudoruns the administrative command with elevated privileges.useraddcreates the account.-mtellsuseraddto create the user’s home directory if it does not already exist.alexis the new username.
After this command, the new home directory is normally /home/alex.
Video 1: useradd from the beginning
Give the new user a password
The previous lesson covered Linux Command #37 – passwd. The two commands fit together naturally.
sudo passwd alexLinux asks you to enter the new password and then type it again. The password itself is not normally displayed while you type it.
A simple account-creation sequence is therefore:
sudo useradd -m alex
sudo passwd alex
Check that the account exists
You can use the earlier getent lesson to look up the account:
getent passwd alexIf the account exists, you should get a line of account information for alex.
Video 2: Creating users with useradd
Why use -m?
A home directory gives the user a normal place for personal files and configuration files.
sudo useradd -m alexThe -m option explicitly requests home-directory creation. This is useful because account defaults can vary between Linux distributions and system configurations.
You can check the directory with:
ls -ld /home/alexA simple workplace example
Imagine a new technician named Alex joins a team and needs an authorized Linux account on a training server. An administrator could create the account, create its home directory, set an initial password according to company policy, and then verify the account record.
sudo useradd -m alex
sudo passwd alex
getent passwd alex
Each command has one clear job: create → set password → verify.
Video 3: Practical useradd options
useradd does not mean “give every permission”
Creating an account does not automatically mean the new user should become an administrator. Give users only the access they actually need. Group membership and administrative privileges should follow the system owner’s policy.
Common beginner mistakes
- Forgetting
sudowhen administrative privileges are required. - Forgetting
-mwhen you intend to create a normal home directory explicitly. - Creating the account but forgetting to handle its password or login policy.
- Assuming every Linux distribution has identical account-creation defaults.
- Giving a new account more permissions than it needs.
Quick practice
Only do this on a Linux system or lab that you are authorized to administer.
- Create a test user with a home directory:
sudo useradd -m alex. - Set the account password according to your lab’s rules:
sudo passwd alex. - Verify the account:
getent passwd alex. - Check the home directory:
ls -ld /home/alex. - Explain what the
-moption does.
Key takeaway
useradd creates a Linux user account. A beginner-friendly pattern is sudo useradd -m username, followed by the system’s approved password/login setup and a quick verification with getent passwd username.


Leave a Reply