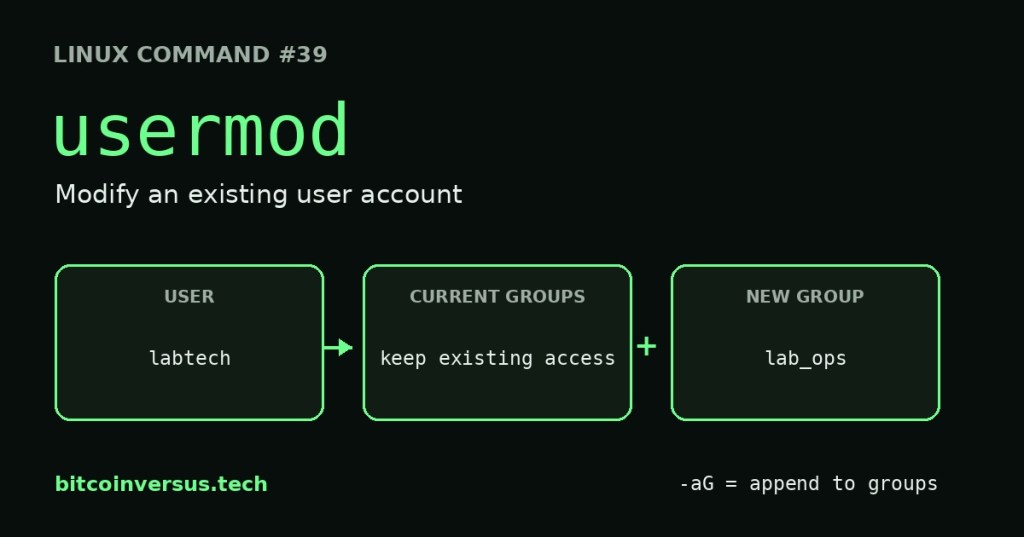
usermod changes an existing Linux user account. Its most useful beginner task is adding a user to a group while keeping that user’s other group memberships.
The previous lesson, Linux Command #38 – useradd, created an account. This lesson continues from there: the account already exists, and you need to change one of its settings.
By the end: you will be able to read a usermod command, add supplementary group membership, verify the result, and recognize options for changing a shell, home directory, or login name.
Start with the smallest useful command
sudo usermod -aG lab_ops labtechRead it as: “Add the existing user labtech to the existing group lab_ops, and keep the user’s other supplementary groups.” These are sample lab names. They must exist before this command can work.
| Part | Plain-English meaning |
|---|---|
sudo | Run with administrative privileges, if your account is authorized. |
usermod | Modify an existing local account. |
-a | Append: keep existing supplementary memberships. |
-G | Specify supplementary groups. The uppercase letter matters. |
lab_ops | The group to add. |
labtech | The account to change. The username goes last. |
-aG combines two options. You can also write -a -G; the meaning is the same. The distinction between appending and replacing is documented in the Debian usermod manual. Check man usermod on your own machine for the installed version.
What is a group?
A group brings accounts together so access can be assigned to a team or role. For example, a mining lab might use lab_readers for people who read reports and lab_ops for people who perform approved operations. The names alone grant nothing: files, applications, or other policies must actually use those groups.
| Term | What it means |
|---|---|
| User account | A named identity on the system, such as labtech. |
| Primary group | The account’s main group. It is recorded with the account’s numeric group ID. |
| Supplementary groups | Additional memberships the account can use for access. |
| UID / GID | Numeric user ID / group ID. Linux uses these numbers to track ownership and identity. |
If you want a refresher on viewing memberships, see Linux Command #35 – groups. A user’s primary group and supplementary groups can appear together in the output, so do not mistake every displayed group for a supplementary membership.
The important difference: -aG adds; -G replaces
Imagine that labtech already belongs to the supplementary groups lab_readers and video. You want to add lab_ops.
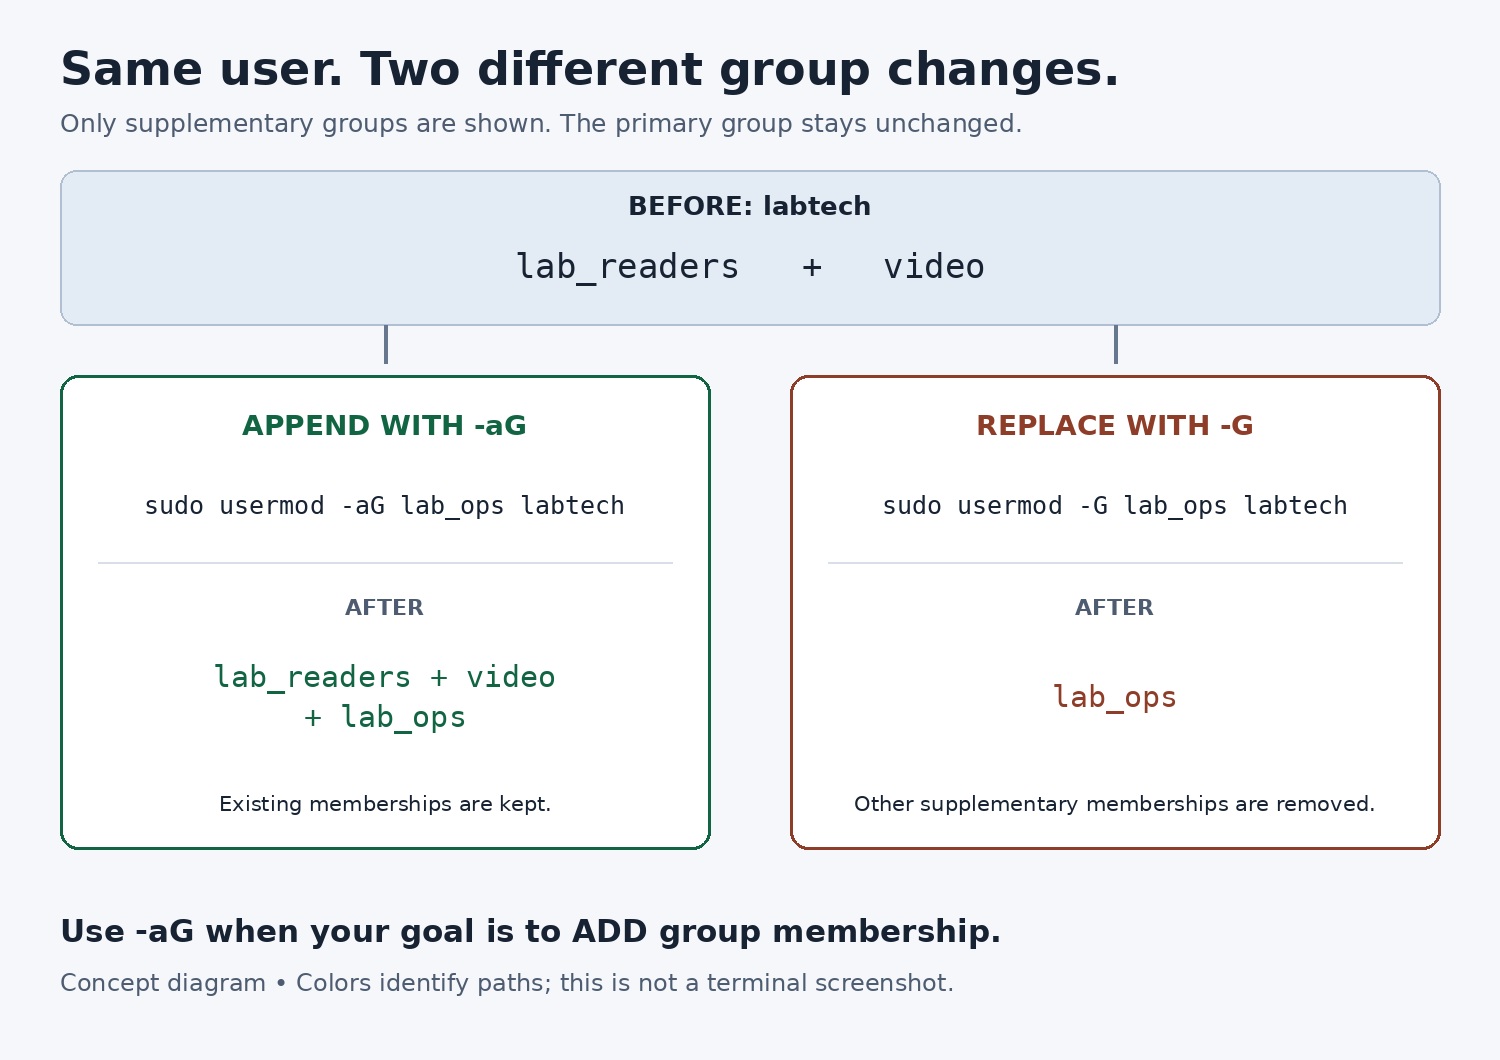
| Command | Result in this example |
|---|---|
sudo usermod -aG lab_ops labtech | Supplementary groups: lab_readers, video, lab_ops. |
sudo usermod -G lab_ops labtech | Supplementary groups: lab_ops only. The two other memberships are removed. |
Use -aG when the goal is to add membership. Use -G alone only when you deliberately intend to replace the complete supplementary list. Removing a group used for administration can cause an access problem after the user starts a new session.
Video 1: See usermod in action
A small practice lab: inspect, change, verify
Use a disposable Linux VM or training machine that you administer. Keep your administrator session separate from the test account. The exercise changes only the test user’s membership; it does not require changing your own account.
Step 1: Check whether the practice names already exist.
getent passwd labtech
getent group lab_readers
getent group lab_ops
A matching record means that name already exists. If any name belongs to an account or group you did not create for this exercise, choose different unused names and substitute them throughout. If all three names are unused, create the practice objects:
sudo groupadd lab_readers
sudo groupadd lab_ops
sudo useradd -m -U labtech
groupadd creates a group. useradd -m creates the account and its home directory; -U explicitly requests a primary group with the same name. This exercise does not need an interactive login password.
Step 2: Give the test user one existing supplementary membership.
sudo usermod -aG lab_readers labtech
id -nG labtech
For this fresh lab account, a typical result is:
labtech lab_readersThe group labtech is the primary group; lab_readers is supplementary. Group order and additional memberships can vary with system configuration. Focus on which names are present.
Step 3: Add the second group.
sudo usermod -aG lab_ops labtech
id -nG labtech
A typical result is:
labtech lab_readers lab_opsThe important result is that both lab_readers and lab_ops remain. You added access without dropping the first supplementary membership.
Step 4: Check from another view.
groups labtech
getent group lab_ops
The first command lists the account’s memberships. The second should show labtech in the member list for lab_ops. Neither command needs sudo for this ordinary lookup.
Optional: Undo just the membership you added in Step 3.
sudo gpasswd -d labtech lab_ops
id -nG labtech
After that change, lab_readers should still be present and lab_ops should be absent. This step removes a membership, not the user account or either group.
Why can the database and current session disagree?
A running process carries its own group list. Changing the account database does not rewrite that list in processes already running. A fresh login normally picks up the new memberships.
| Command | What you are checking |
|---|---|
id -nG labtech | Look up the named account’s groups from the user and group databases. |
id -nG | Inspect the groups of the process running this command. |
For an interactive account, save your work, fully log out, and log back in before testing the new access. Opening another terminal inside the same desktop session may inherit the old group list. A service running under that account may need to be restarted through the normal maintenance process.
Video 2: Understand group membership
Adding more than one group
List the group names with commas and no spaces between them. All the groups must already exist.
sudo usermod -aG lab_ops,lab_readers labtech
id -nG labtech
Use only the memberships required for the task. Adding a person to a group is meaningful only when the system’s access rules use that group. Red Hat’s user and group administration guide provides a broader view of account management.
Other usermod options worth recognizing
The table below is a reference, not a sequence to run. Check the account and target values before using an option.
| Option | Purpose | Example |
|---|---|---|
-c | Change the account comment. | sudo usermod -c "Mining lab operator" labtech |
-s | Change the login shell. | sudo usermod -s /bin/bash labtech |
-g | Change the primary group. Lowercase g. | sudo usermod -g lab_ops labtech |
-d with -m | Change the recorded home path and move the existing home contents. | sudo usermod -d /home/labtech-new -m labtech |
-l | Change the login name. | sudo usermod -l labtech2 labtech |
-L / -U | Lock / unlock the password. | sudo usermod -L labtech |
For a shell change, first check cat /etc/shells and confirm the chosen executable exists. /bin/bash is an example, not a promise about every Linux installation.
For a login-name or home-directory change, the affected user must have no running processes. Work from a separate administrator account. -l does not automatically rename the home directory. -d without -m changes the recorded path without moving the existing files. Review ownership, application paths, and configuration after a move.
A password lock is not a complete account shutdown. -L blocks password authentication; SSH keys or other methods may still work, and existing sessions are not ended. Likewise, -U does not undo every other access restriction.
To set or change a password, use the interactive command covered in Linux Command #37 – passwd. Do not pass a plain-text password to usermod -p: that option expects an encrypted hash, and command-line arguments can be exposed.
Video 3: Connect the options to practical maintenance
Troubleshooting without guessing
| What you see | What to check |
|---|---|
| The user does not exist. | Check the spelling with getent passwd labtech. usermod modifies an account; it does not create one. |
| The group does not exist. | Check getent group lab_ops. Create a lab group only when that is your intended task. |
| Permission denied or cannot lock account files. | Confirm your administrative authorization and whether another account-management operation is running. Do not delete lock files casually. |
| The new group is listed, but access still fails. | Test in a fresh login. Then check the resource’s permissions and policy; membership alone does not configure the resource. |
| The user is used by a process. | For a rename, UID change, or home move, arrange for that account’s processes to stop before retrying. |
This lesson covers local accounts managed by the Linux shadow utilities. If an identity comes from Active Directory, LDAP, or another central service, use that service’s administration workflow. A name returned by getent is not proof that it is a local account.
Check your understanding
- What is the difference between useradd and usermod?
- Why do we use -aG rather than -G when adding one group?
- Does -g use the same meaning as -G?
- Why can id -nG labtech show a new membership while labtech’s existing session cannot use it?
- Does changing the login name automatically move the home directory?
- Does locking the password block every possible login method?
Answers: useradd creates; usermod modifies. -aG appends; -G alone replaces the supplementary list. -g changes the primary group. Existing processes retain their group lists. A login-name change does not automatically move the home directory. A password lock does not block every authentication method.
What to remember
Inspect the account, change only the intended setting, and verify the result. For adding supplementary membership, the pattern is sudo usermod -aG group user. Remember the lowercase a; it keeps the existing supplementary groups.
Presentation note: commands and sample output are plain text, with no simulated terminal colors. Terminal palettes depend on the application, profile, and theme. The comparison diagram uses labeled paths rather than claiming to reproduce a terminal.
BitcoinVersus.Tech
Advertisement
Editor’s Note:
We volunteer daily to ensure the credibility of the information on this platform is Verifiably True. If you would like to support our research initiatives, please donate here: 3C9o19EH5HSiwEPyCTmEKzxhNCbo2X6TTb
BitcoinVersus.tech is not a financial advisor. This media platform reports on financial subjects purely for informational purposes.


Leave a Reply