A command can fail simply because it is running under the wrong account. Before changing permissions, use whoami to check which identity the current Windows terminal is using.
Definition
whoami is a Windows identity-reporting command. Without options, it displays the computer or domain name followed by the account name. A security identifier (SID) is Windows’ identifier for an account or group.
Basic Syntax
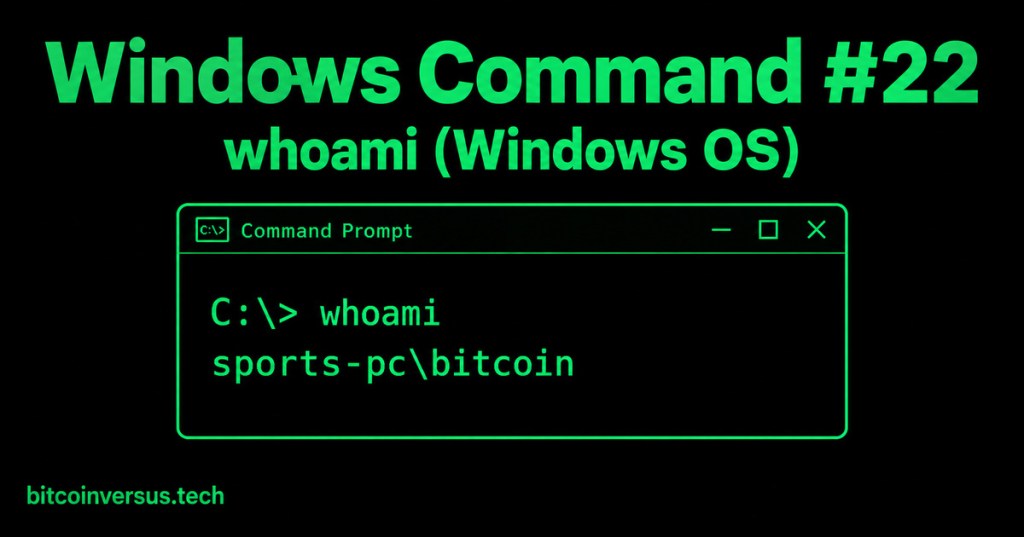
whoamiFictional example output:
sports-pc\bitcoinSPORTS-PC is the fictional computer name; bitcoin is the fictional local account. Treat the backslash as the separator between the account authority and username. Your output will differ.
Useful Options
whoami /user
whoami /groups
whoami /priv
whoami /all
/user adds the account SID. /groups lists groups in the current token. /priv lists security privileges and their states. /all combines these views. An access token is the identity and security information attached to the running process.
Video Walkthrough
Watch this short Windows demonstration, then return to the practice steps below.
Sports Scoreboard Example
Imagine a fictional sports scoreboard computer cannot save a results file. Start with whoami. If the terminal is using the bitcoin account but the folder belongs to another account, you now have a concrete lead to investigate. The command reports identity; it does not fix the folder’s permissions.
Compare Two Terminal Sessions
Open a normal Command Prompt and record whoami /groups and whoami /priv. If you are authorized to administer a lab computer, compare those results with an elevated Command Prompt. The username may stay the same while token details differ. A group entry alone does not prove a permission is active; read its attributes.
Readable Output
whoami /all /fo list
whoami /user /fo csv
whoami /?
Use list format for a readable report, CSV for structured output, and /? for built-in help. These identity queries do not alter accounts or permissions.
Practice
1. Open Command Prompt and run whoami.
2. Identify the account authority and username.
3. Run whoami /user and locate the SID.
4. Run whoami /groups and inspect one group’s attributes.
5. Explain why confirming identity should come before changing access.
Knowledge Check
Which command adds the SID? Answer: whoami /user. Which command combines identity, groups, and privileges? Answer: whoami /all.
Previous Windows Lessons
Windows Command #21 – getmac (Windows OS)
Windows Command #20 – hostname (Windows OS)
Windows Command #19 – arp (Windows OS)
Reference
Microsoft’s whoami command reference
Key Takeaway
Use whoami as the first identity check in a Windows terminal. Confirm the account before investigating access or requesting a permission change.


Leave a Reply