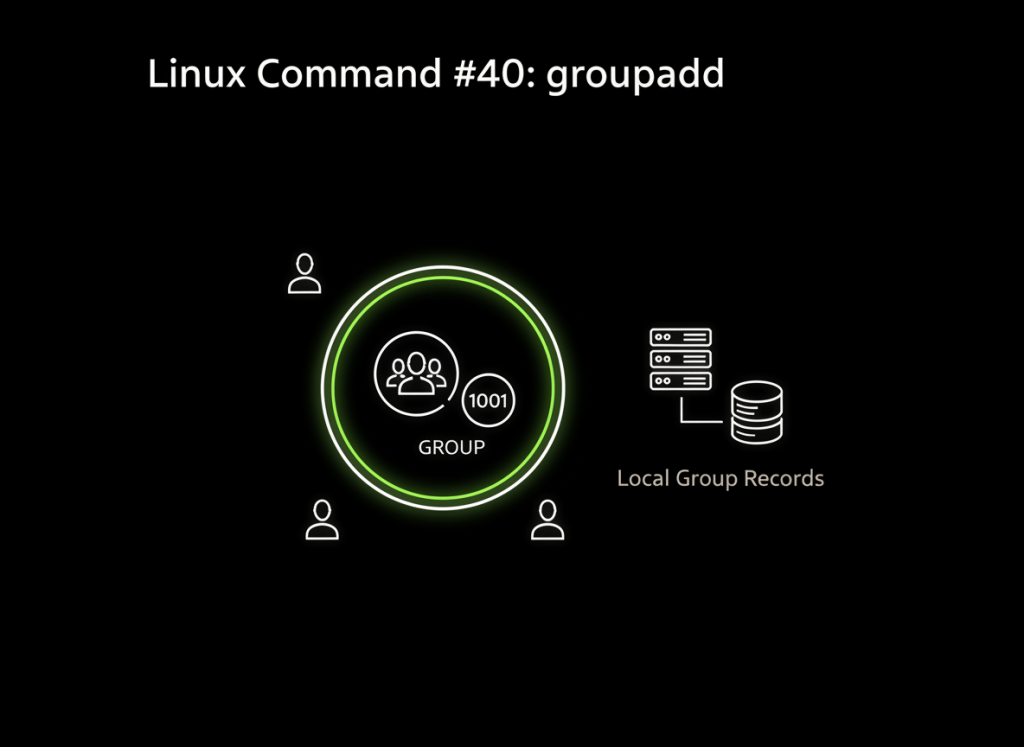
groupadd creates a new local Linux group. A group gives the system a named identity that can be used to organize users and assign shared access to files, directories, devices, and services.
This lesson follows Linux Command #39 – usermod. That lesson showed how to add an existing user to an existing supplementary group. This lesson fills in the missing step: how the group itself is created.
By the end: you will be able to create a group, understand its GID, verify it with getent, recognize system groups, and connect groupadd to the account-management commands you already learned.
Start with the smallest useful command
sudo groupadd lab_opsRead it as: “Create a local group named lab_ops.”
| Part | Meaning |
|---|---|
sudo | Run with administrative privileges, if your account is authorized. |
groupadd | Create a local group account. |
lab_ops | The new group name. |
The Debian groupadd manual describes the basic syntax as groupadd [OPTIONS] NEWGROUP. The exact defaults come from the local system configuration, so always check man groupadd on the machine you are administering.
What gets created?
A group has two important identifiers:
- Group name — a human-readable name such as
lab_ops. - GID — the numeric Group ID Linux uses internally.
Group name: lab_ops
       ↓
Numeric GID: 1005   ← example only
       ↓
Linux can use the group for ownership and access rules
The number above is only an example. If you do not choose a GID manually, the system selects one according to its configured group-ID ranges and current group database.
Video 1: Linux group management from the ground up
Always check before creating
Before creating a group, check whether the name already exists:
getent group lab_opsIf a matching group exists, getent returns a record. If nothing is returned, the name was not found through the system’s configured group lookup sources.
This matters because getent can consult more than just local files. A system may also use LDAP, Active Directory integration, or another identity source. Do not create a local group that accidentally conflicts with an organization-managed identity.
Create, then verify
sudo groupadd lab_ops
getent group lab_ops
A local system might return something shaped like this:
lab_ops:x:1005:Do not memorize the example GID. Focus on the fields:
lab_ops : x : 1005 :
   │      │     │    └─ supplementary member list
   │      │     └────── GID
   │      └──────────── password placeholder / group-password field marker
   └─────────────────── group name
On systems using the traditional local account files, group information is commonly stored in /etc/group, with protected group-password information handled separately. Use getent for normal lookups instead of assuming every identity comes only from local files.
groupadd creates the group — it does not automatically add users
This is one of the most important beginner distinctions.
sudo groupadd lab_ops
        ↓
Group now exists
        ↓
No supplementary users are added automatically
To add an existing user afterward, use the pattern from Linux Command #39:
sudo usermod -aG lab_ops labtechThen verify:
id -nG labtech
getent group lab_ops
Video 2: A dedicated groupadd walkthrough
Choosing a specific GID with -g
Most of the time, letting the system choose the GID is simplest. Sometimes an environment needs a specific numeric GID, especially when matching identity numbers across systems or shared storage.
sudo groupadd -g 5100 lab_opsHere, -g 5100 requests GID 5100.
Before choosing a fixed GID, check whether it is already in use:
getent group 5100If that number already belongs to another group, stop and determine the correct ID plan instead of forcing a collision.
Regular groups vs. system groups
A service may need a group that exists for software or daemon ownership rather than for normal human collaboration. The -r option requests a system group:
sudo groupadd -r telemetry_agentThe numeric range used for system groups is distribution and configuration dependent. The local /etc/login.defs settings and the installed account-management tools determine the ranges. Do not teach yourself that “system group always means GID below one fixed number” because that is not universal.
What about -f?
The -f or --force option can make groupadd return success when the requested group name already exists:
sudo groupadd -f lab_opsThat can be useful in some scripts, but beginners should normally inspect first with getent. Silently accepting an existing name can hide a mistaken assumption about which group you are actually using.
Video 3: groupadd in a short focused example
A safe practice lab
Use a disposable VM or training machine that you administer. Do not experiment with production identity groups.
Step 1: Check the names.
getent group lab_readers
getent group lab_ops
If the names are already in use for something you did not create, choose different practice names.
Step 2: Create two groups.
sudo groupadd lab_readers
sudo groupadd lab_ops
Step 3: Verify both.
getent group lab_readers
getent group lab_ops
Step 4: If the practice user from earlier lessons exists, add it to one group.
getent passwd labtech
sudo usermod -aG lab_ops labtech
id -nG labtech
Only run the usermod line if labtech is your intended practice account. Do not substitute a production account casually.
Why groups matter for permissions
Creating a group by itself does not grant access. Something still has to use the group in an ownership or policy rule.
Create group
    ↓
Add intended users
    ↓
Assign resource or policy to that group
    ↓
Verify access
For example, a shared directory can have a group owner. File permissions can then give members of that group specific access. Red Hat’s user and group administration guide documents groupadd, supplementary groups, and group-based shared-directory workflows.
Local groups vs. centrally managed groups
groupadd is for creating a local group through the system’s local account-management tools. In enterprise environments, users and groups may instead come from Active Directory, LDAP, FreeIPA, or another centralized identity platform.
If getent group some_name returns a group that is centrally managed, do not assume groupadd is the correct way to modify it. Use the administration workflow for the identity source that owns the group.
Troubleshooting without guessing
| What you see | What to check |
|---|---|
| “group already exists” | Run getent group groupname. Confirm whether the existing group is the one you intended. |
| Requested GID already exists | Run getent group GID. Follow the site’s GID allocation plan instead of reusing a number accidentally. |
| Permission denied / cannot lock group file | Confirm administrative authorization and whether another account-management process is running. Do not delete lock files casually. |
| Group exists but user has no access | Check user membership, fresh-session group state, resource ownership, permissions, ACLs, and application policy. |
| Group appears in getent but not /etc/group | The identity may come from another NSS source such as LDAP or directory integration. |
How groupadd connects to the commands you already know
groupadd  → create a group
useradd   → create a user
usermod   → change an existing user
passwd    → manage a user's password
getent    → query identity databases
groups    → show group memberships
id        → show numeric and named identity information
These commands start to form one coherent account-management toolkit rather than a list of unrelated commands.
Check your understanding
- What is the basic purpose of
groupadd? - What is a GID?
- Which command can verify that a group exists?
- Does creating a group automatically add users to it?
- What does
-glet you choose? - What does
-rrequest? - Why should you check
getentbefore creating a group on an enterprise system?
Answers: groupadd creates a local group. A GID is the numeric Group ID. getent group can verify the group. No, creating a group does not automatically add supplementary users. -g requests a specific GID. -r requests a system group. getent can reveal identities supplied by local or configured external sources, helping you avoid conflicts.
What to remember
The safest beginner pattern is: check → create → verify → add only the users who actually need membership.
getent group lab_ops
sudo groupadd lab_ops
getent group lab_ops
sudo usermod -aG lab_ops labtech
id -nG labtech
Presentation note: every command and sample result in this lesson is shown as plain text. No simulated VS Code, Windows, or Linux terminal colors are used or invented. Actual colors depend on the terminal application, profile, theme, shell, and command configuration.
BitcoinVersus.Tech
Advertisement
Editor’s Note:
We volunteer daily to ensure the credibility of the information on this platform is Verifiably True. If you would like to support our research initiatives, please donate here: 3C9o19EH5HSiwEPyCTmEKzxhNCbo2X6TTb
BitcoinVersus.tech is not a financial advisor. This media platform reports on financial subjects purely for informational purposes.


Leave a Reply