Elementary Overview
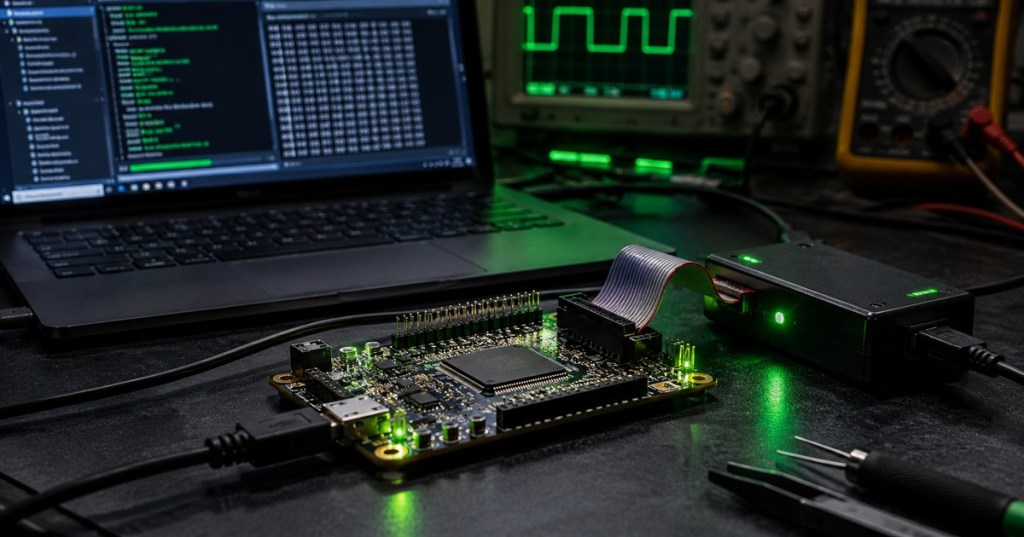
Hardware/firmware compatibility means proving that a specific microcontroller board can safely run a specific firmware image. The filename alone is not enough. A technician should identify the exact board revision, processor or device ID, bootloader version, memory layout, peripheral configuration, and required hardware options before flashing. A firmware image may be valid for one revision and wrong for another even when the boards look almost identical. This lesson builds directly on safe firmware images and recovery, serial-console boot logs, checksums and rollback, and USB DFU, SWD/JTAG, and SPI flashing.
The Compatibility Layers
Think of compatibility as a chain: Compatible = processor match AND board-revision match AND memory-map match AND bootloader contract match AND peripheral-map match. A change at any layer can matter. A later board revision may move a GPIO, replace a sensor, use a different device driver, change the oscillator, alter external flash memory, or reserve a different region for the bootloader. Modern embedded platforms often keep those hardware facts in board-support files or a Devicetree so the software knows what physical hardware exists. For a technician, the lesson is simple: never assume two boards are interchangeable because the enclosure, connector, or product name is the same.
Identify the Exact Hardware Before Flashing
Before changing firmware, collect identity evidence from the device itself and from the approved service documentation. Useful identifiers include the product model, PCB revision, assembly number, MCU part number, silicon revision, unique device ID, installed bootloader version, current application version, and programmer-detected target. If the tool reports a different chip than the work order expects, stop and investigate. This is where production programming software is valuable: it can identify a target, read memory, program an image, and verify the write instead of relying on a handwritten label. The same discipline applies whether the connection uses USB, SWD, JTAG, SPI, or another service interface.
- Board identity: model, PCB revision, assembly revision, serial number.
- Processor identity: exact MCU/SoC part number, package, silicon stepping or revision.
- Firmware identity: application version, build ID, release channel, checksum or signed-image identifier.
- Boot identity: bootloader version, recovery mode, partition or slot layout.
- Peripheral identity: sensors, radios, storage devices, displays, GPIO assignments, buses, and external memory.
- Programming identity: programmer/debugger model, detected target, interface voltage, connection method, and tool version.
Verify the Image and Toolchain
A compatibility check should verify both the image and the tool used to install it. Confirm the approved filename, version, target family, release notes, file size, and cryptographic hash before programming. On Linux, a technician can use sha256sum firmware.bin; in Windows PowerShell, Get-FileHash .\firmware.bin -Algorithm SHA256 provides the same kind of evidence. The expected digest should come from a trusted release record, not from the same unverified file being checked. If the firmware package includes a machine-readable manifest, JSON is a common format for fields such as board ID, minimum bootloader version, image version, memory address, and checksum.
sha256sum firmware.bin— calculate a SHA-256 digest on Linux.Get-FileHash .\firmware.bin -Algorithm SHA256— calculate a SHA-256 digest in PowerShell.python -m serial.tools.miniterm COM4 115200— example Windows serial capture when Python and pySerial are available.python -m serial.tools.miniterm /dev/ttyUSB0 115200— example Linux serial capture.
Board-Specific Settings Can Break a Good Firmware Image
Even when the main application binary is correct, device configuration can still make a board fail. Option bytes, fuses, security bits, flash-protection settings, boot pins, external-memory loaders, clock configuration, and boot addresses can all be board-specific. A technician should therefore preserve or record configuration before altering it and should never copy low-level settings from a different board revision unless the approved procedure says they are identical. The same caution applies to memory sections, vector tables, stack, heap, and linker maps: firmware can compile successfully yet still be built for the wrong memory organization.
- Clocking: crystal frequency, internal/external clock source, PLL assumptions.
- Boot configuration: boot address, boot pins, active slot, recovery partition.
- Memory: internal flash size, external NOR/NAND, RAM map, reserved bootloader space.
- Peripherals: I²C/SPI addresses, UART assignment, GPIO polarity, sensor model, display controller.
- Protection: readout protection, secure boot, write protection, debug access, signed-image requirements.
Field Validation After Flashing
A successful “program complete” message only proves that bytes were written; it does not prove that the device is fully compatible or functional. After flashing, boot the device and validate the whole expected path: correct version banner, normal boot log, no unexpected watchdog resets, correct network or bus initialization, recognized storage, working sensors, expected outputs, and a controlled reboot. For a batch of identical units, automate the repeatable steps where possible but keep a traceable record of target identity, image identity, verification result, and final functional test. A failure that appears only on one board revision is a strong clue that the problem is compatibility rather than a universally bad image.
- Confirm the flashed version or build ID.
- Capture the first complete boot after programming.
- Confirm reset cause is normal.
- Test all required communication interfaces.
- Verify external storage and attached peripherals.
- Exercise one normal shutdown/restart or power-cycle sequence.
- Confirm the device returns to service without recovery mode.
- Record pass/fail, board revision, firmware version, and technician evidence.
Practical Compatibility Example
- A work order says to install firmware 3.7.2 on Product X.
- The service matrix says 3.7.2 supports board revisions B and C, MCU family M4, and bootloader 1.4 or later.
- The technician reads the target and finds board revision A with bootloader 1.2.
- The correct action is do not flash. The mismatch is proven before the device is put at risk.
- If the board is revision C with bootloader 1.5, the technician verifies the image hash, programs it, checks boot logs, and completes the functional test.
Technician Workflow
- Photograph or record the board label and PCB revision.
- Read the exact MCU/SoC identifier with an approved tool.
- Record current application and bootloader versions.
- Back up configuration or firmware when the service procedure requires it.
- Match board revision and processor against the approved compatibility matrix.
- Verify the firmware filename, version, size, and SHA-256 hash.
- Confirm programmer/debugger tool version and interface settings.
- Record board-specific option bytes, fuses, or protection settings before changing them.
- Program the image using the approved interface.
- Run read-back or tool-level verification where supported.
- Capture the first boot and confirm the expected version and reset cause.
- Test required peripherals and communications before returning the device to service.
- If the unit fails, compare the failure against another known-good unit of the same hardware revision.
- Use the golden image or rollback path if the approved recovery criteria are met.
Prior Lessons and Related BitcoinVersus Guides
- OSFTC.001 — Firmware Images, Safe Flashing, Bootloaders, and Recovery Basics
- OSFTC.002 — Serial Console and Boot Logs
- OSFTC.003 — Firmware Backup and Recovery
- OSFTC.004 — Firmware Flashing Interfaces
- OSFTC.005 — Watchdog Timers and Reset Loops
- OSFEC.005 — Bootloader Design and Firmware Update Architecture
- What Is a Device Driver?
- USB Standards — Speeds, Connectors, and Compatibility
- RAM vs. Flash Memory
- OSITC.001 — IT Systems Fundamentals
Exercises
- Explain why matching only the product name is not enough to prove firmware compatibility.
- List six hardware or firmware identifiers you should record before flashing.
- Calculate a SHA-256 hash for a test file on Linux or Windows and record the output.
- A board has the correct MCU but an older bootloader than the release requires. What should you do?
- Explain why a successful write-verification result does not prove that sensors and communications will work.
- Create a simple compatibility record with fields for board revision, MCU, bootloader version, firmware version, hash, and final functional-test result.
Knowledge Check + Answers
- What is hardware/firmware compatibility? A proven match between the firmware image and the exact processor, board revision, bootloader, memory layout, peripherals, and required configuration.
- Why read the device ID? To prove which target chip is physically present rather than relying on labels or assumptions.
- What does a SHA-256 hash prove? That the file being used matches the expected byte content when its digest matches a trusted reference.
- Why can a board revision matter? A revision can change pins, clocks, memory, sensors, power behavior, or other hardware assumptions used by firmware.
- What should happen if the detected target does not match the approved compatibility matrix? Stop the flash and investigate.
- Does “program verified” mean the complete device passed? No. It proves the programmed data matched the write operation; functional validation is still required.
- What is the safest comparison unit for troubleshooting a revision-specific failure? A known-good device with the same hardware revision and approved firmware.
Elementary Review
- Read the hardware identity first.
- Match the exact board and processor to the approved firmware.
- Check the bootloader and memory requirements.
- Verify the file hash before programming.
- Preserve board-specific settings.
- Verify the write.
- Boot the device and test the real hardware.
- Document exactly what passed or failed.
- If the identity does not match, stop rather than guessing.
BitcoinVersus.Tech
Editor’s Note: This Open-Source TechCert lesson is written for technicians learning repeatable, evidence-based firmware service workflows.
We volunteer daily to ensure the credibility of the information on this platform is Verifiably True. If you would like to support our research initiatives, please donate here: 3C9o19EH5HSiwEPyCTmEKzxhNCbo2X6TTb
BitcoinVersus.tech is not a financial advisor. This media platform reports on financial subjects purely for informational purposes.


Leave a comment